- Joined
- Oct 20, 2018
- Messages
- 3,332
- Reputation
- 0
- Reaction score
- 11,139
- Points
- 0
- Currently Smoking
- Sam’s Crack / Gold Glue / 3 Bears OG
I am not sure, but would be intresting to compare. I put my newest seedlings in my 2x4 and it is running 83 deg. Now it is a little brighter than where they were before, so 2 of them are a little droopy todaybfrom more light I assume. But the rest look better than before. Standing nice and tall. I have to transplant the largest 1, she is ready. Have another right behind her and the rest need a few more days. I think I will transplant the one tomorrow. Then I will also start to reammend mybother ones thst finished up. Will use an extra Junior to unload the old one into and mix in the craft blend in layers. Will let sit a few days before planting. I will keep transferring the used soil to different Juniors to prep. Should work well. I have 3 unused Juniors, and 3 used. Have 6 seedlings, so its perfect! I am gonna leave the bottom layer on the old ones and reammend it and fill back up in layers...reammending in layers. 1 cup Craft Blend per Junior with EWC. Shit, I might as well start doing some work now. Peacex slow
When I transplant I make sure seedling is damp and form hole in soil and mix some root stuff and then spray mist hole to hold in place and slip plant into hole and press into place - Doing direct plant if you have environment could be the way to go but then look at the root mass and wonder if that mass isn’t going to spread out nicely ...... This is where I like to the box sit for week or two and let the worms work on the mulch layer and let the mycelium start to form ..... also where you transplant you might wanna mix some of that starter soil ... Peace MOB
I have been rapping with a few of the boys about how I top dress and feed the soil for the longer term, especially when using worms in your containers.
I like to throw down a layer of dried and crumbled leaves, then I cover with vermicompost. Leaves are optional, it’s just what I do cause I have em. (Trim, holy basil, citronella- stuff from my house plants that I know isn’t buggy).
I applied this layer of vermicompost yesterday and have watered it in 4x since. Quite a bit of the worm casting fines have already washed down into the soil.
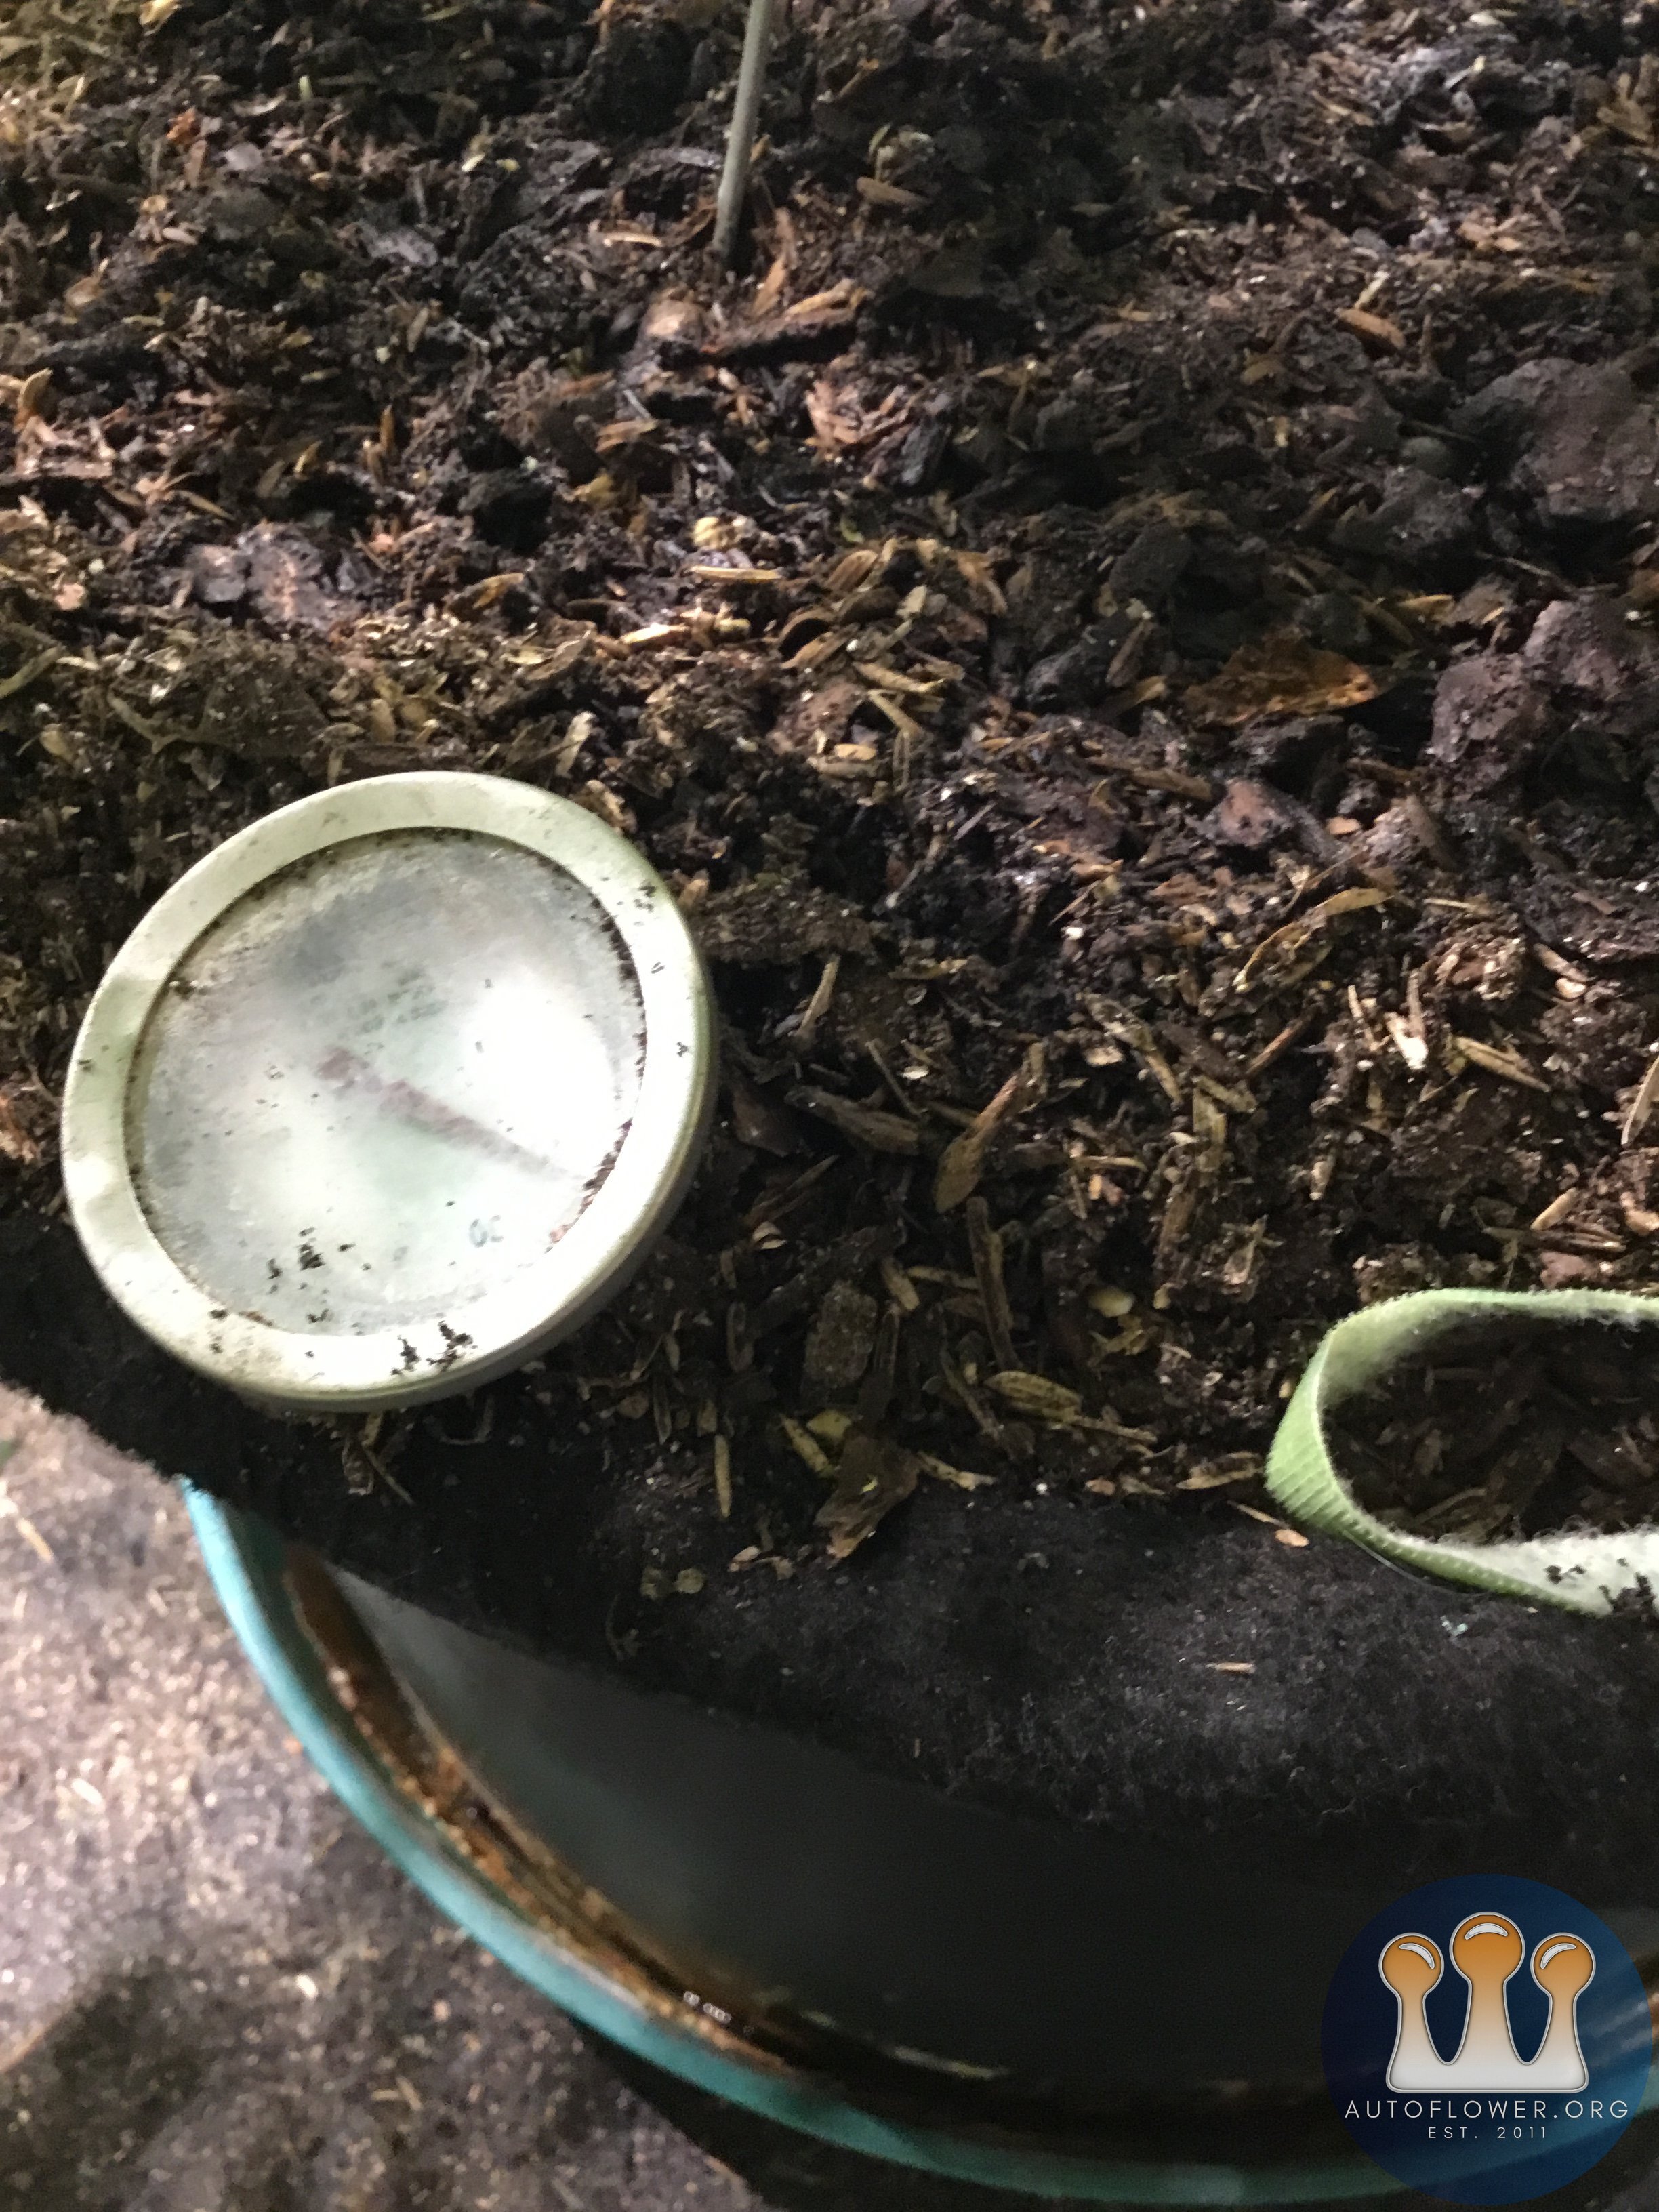
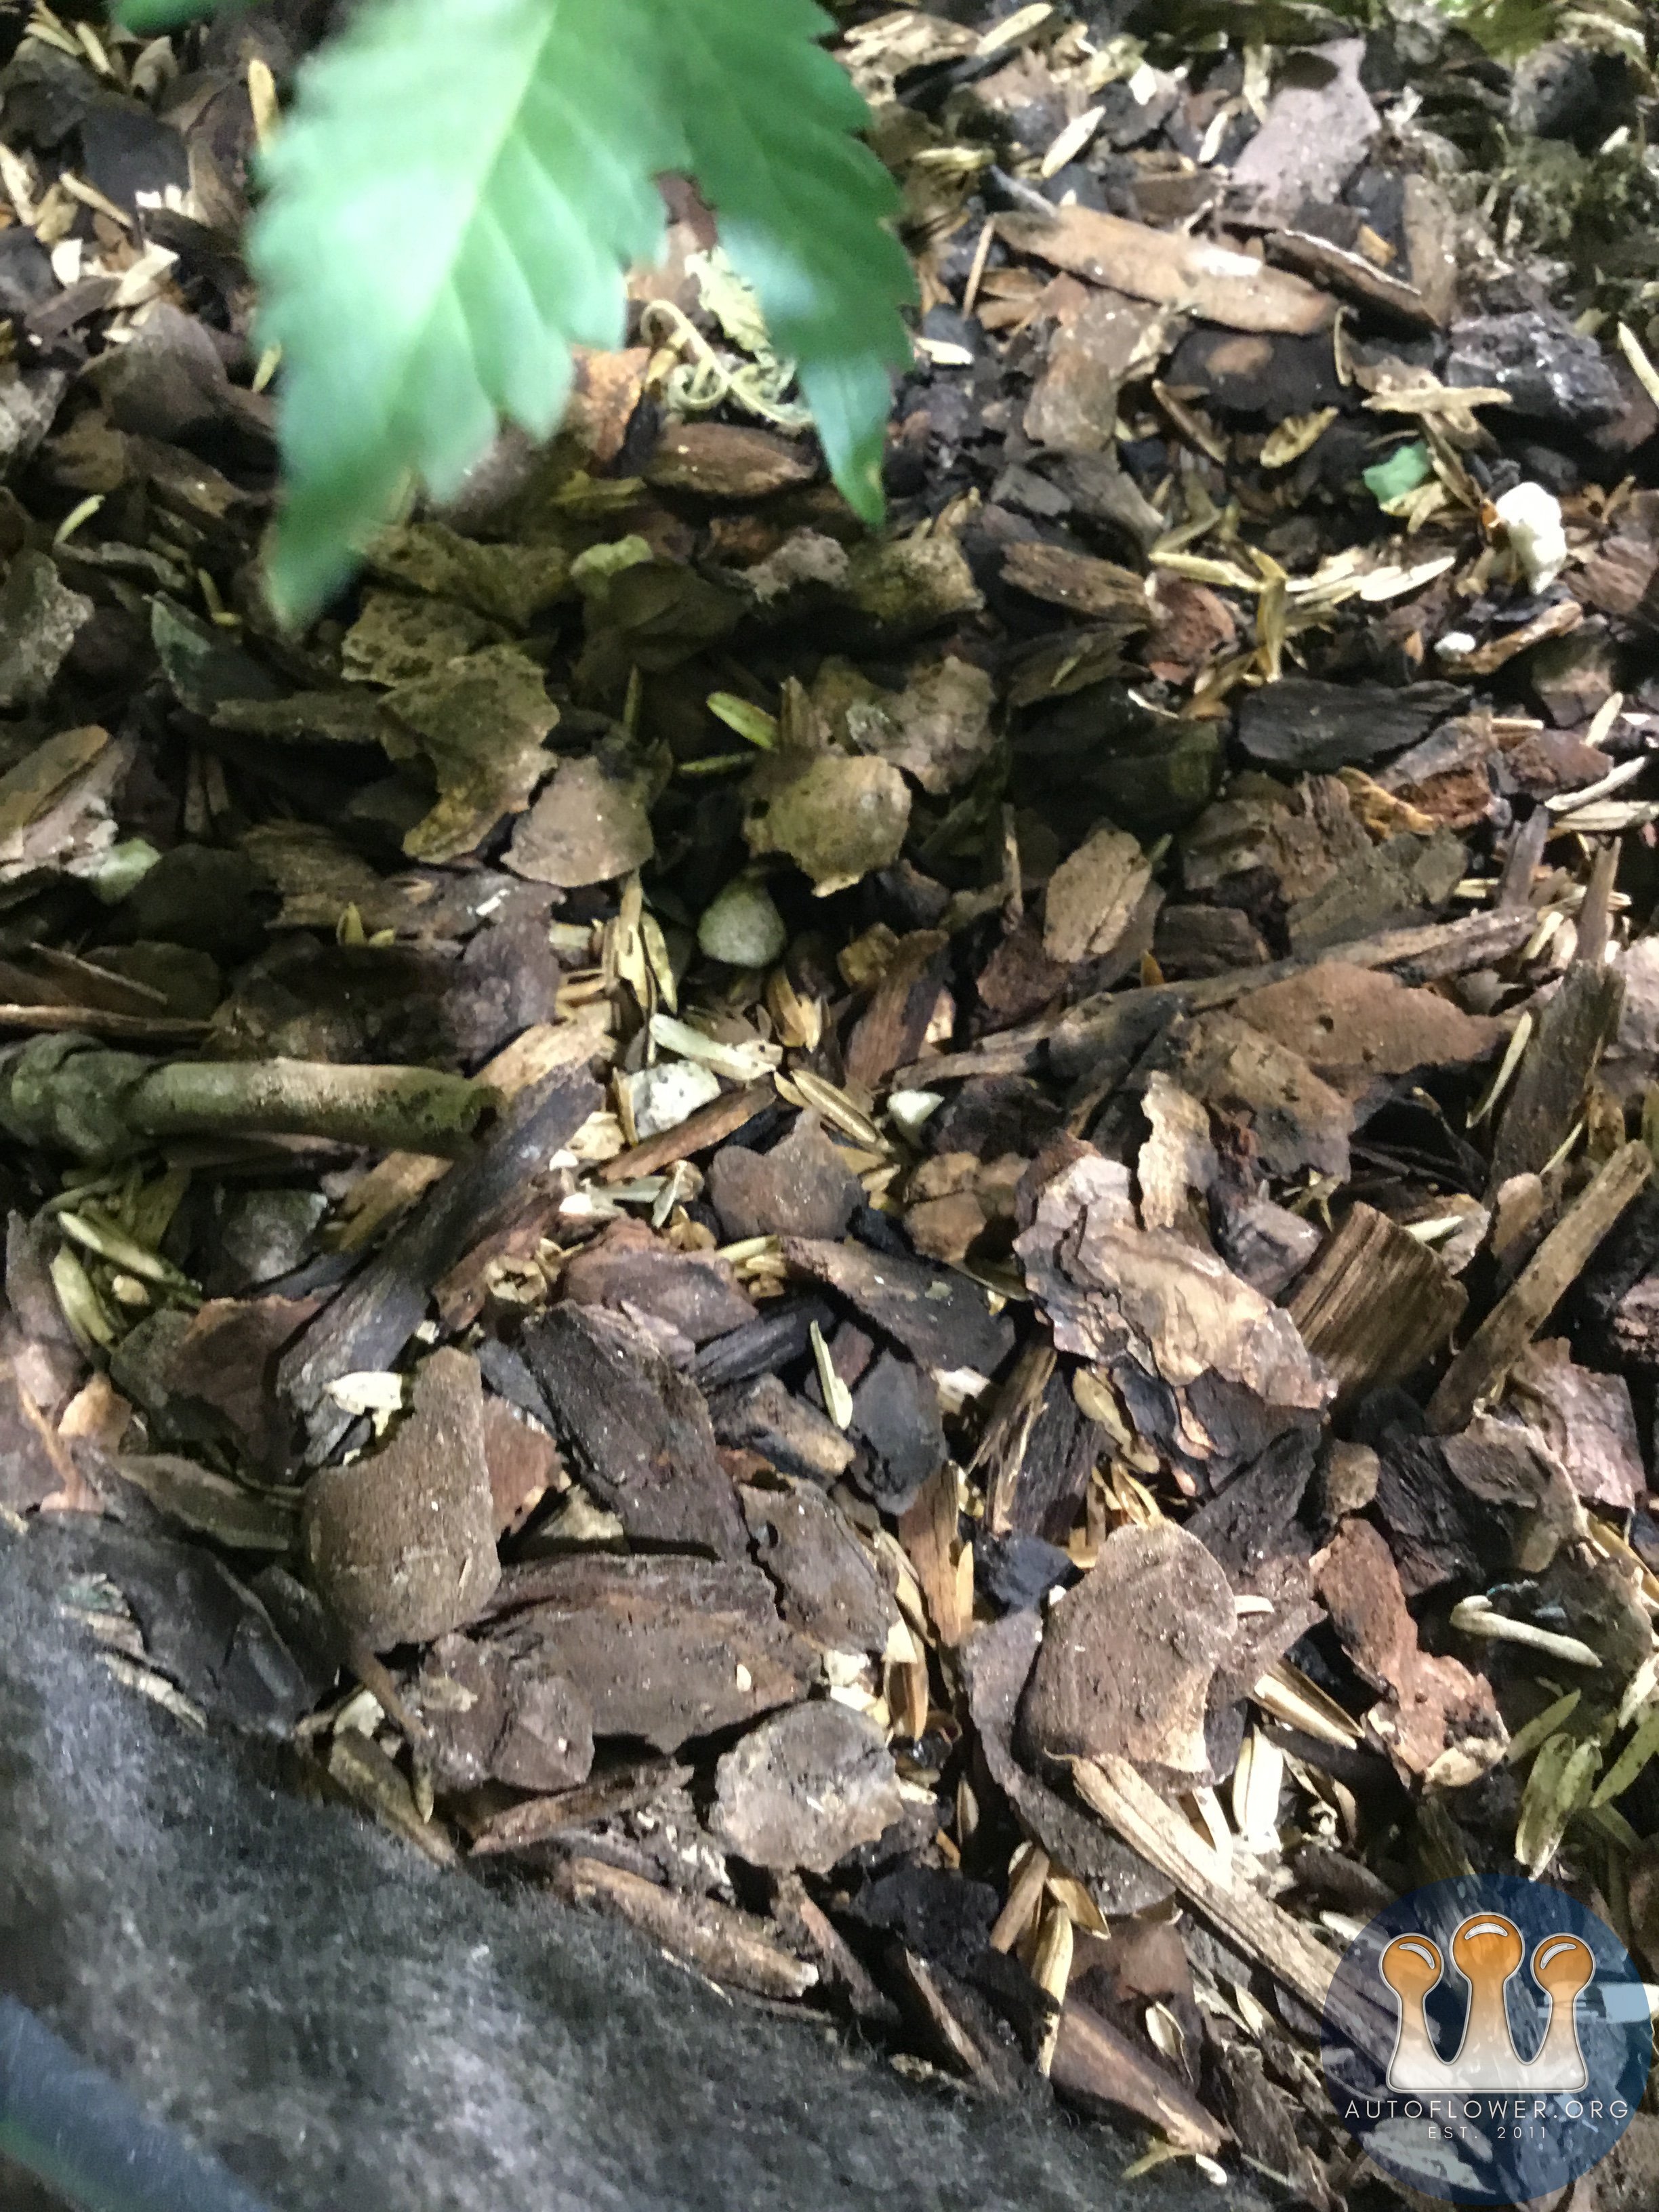
About 25% of my vermicompost originates from small bark nuggets. 10% is rice hulls. After a few days of normal daily watering the surface looks like this.
I do this 3 or so times a grow, and 3 real distinct layers form, with new roots colonizing each new layer in a week.
For guys with fungus gnats, that mulch layer of bark provides a great barrier.
My sips run different than your grow boxes but it all works. Just water instead of adding a tea. Condensation dripping off the shower cap will help further the process. I like thick layers of vermicompost, like 1/2 to 1 gal at a shot in a 10 gal.
Some people don’t like mulching with bark nuggets, cause they think that you have to move it to top dress or whatever. You don’t, just keep piling it on. Even dry meals, when sprinkled on tops are easily washed down under the bark, and immediately out of the reach of gnats.
when I get around to remixing/recycling that soil down the road, I mix the bark right in with everything else. Oh so easy and cheap!
I love how excited you guys are about sips and soil and worms.
cheers
os
Bark could be part of the mulch program but the nuggets have air space between them and amount of mulch on top,of a Junior is limited - I can see a thin layer with Oly fish compost spread over followed by straw and Go Kashi - rinse and repeat .... nice thing about nuggets you can find at grocery stores outside in fall or broken bags for a $1 - back up the truck if you find ....
Good info! I am gonna grab some worms next week, I want my 6 open juniors to be ready for them. I have to grab some straw and Kashi too. I dont have any leaves, bark or anything available right now, we have new snow on the ground as of last night. I didnt really want to get into worms, but I think the $40 to fill 16 Juniors with worms is cheap and they wont fo any harm...only good. I am just afraid of how to feed them bestx since I have no experience. Seems like some straw and Kashi will keep them happy and just keep applying as it goes down. So I will see what happens and how often they need top dressings. Is there anything else you suggest to keep them happy? Thanks, slow
Worms love, absolutely love Oly fish compost and straw, they will eat dry amendment, cardboard (soak first), leaves shredded by lawn mower soaked - wrung out - frozen - thawed and spread with some kelp lightly mixed in, they eat it up - in my worm bin I just soak and drain and dump in a layer but I freeze and thaw for Junior ..... Sinse might weigh in on this with bug reference but so far I’ve been good - if you have a yard Slow plant some comfy Russian block 13 I believe it is - learn about comfy leaves and their wonderful benefits- I just started some last spring myself ..... comfy slow, I am telling you .... anyways lots you can feed your worms including bark and I like variety ..... Peace MOB
The bark nuggets that come in bags at places like Lowe’s are what I use. It’s about the only techie app thing I do. Even In the winter I can Lowe’s app a bag of small bark nuggets, they grab it from way in the back, and have it ready up front when I show up.
otherwise, just let those worms work the soil. Dont worry about feeding them, they do fine.
Where the worms will really benefit the soil, is next run- whichever way you go. Just be sure to leave the roots behind for the worms. The old roots have everything the new roots need, the worms just make it happen.
I think about Fan leaves the same way. Fan leaves that are mulched, have everything a new leaf would need. It’s the law of returns.
Of course you don’t get enough of everything that way, but what the worms are processing is now very specific and matched right because it’s from the same type of plant. So what ya end up with is just perfect for another canna plant.
side note, forgotten cookies is awesome, part to blame for the length of the post.
cheers
os
Stoner to Stoner no problem on length- late for me and I’m kinda out of it myself - lots of good advice Sinse - thanks for sharing! Peace MOB
Hey @MrOldBoy , I have a few seedlings in Rootmakers. The one is def ready for transplant. So, here is what I just did. Dont Cut your Rootmakers ever again my friend! Push on all 4 sides and bottom to loosen the soil. Turn the Rootmaker upside down, with your fingers between the stem and it plopped right out! Perfect, no need to ruin that root maker. It actually came out crazy easy and perfectly. I like the way the roots look, nice and spread out already. I will use these over cups, but will be doing direct plant on my next seedling to see how it compares. I have an environment for seed starting directly now. I like the rootmakers and my new starter soil. But want to see how direct planting does. I think it direct planting will make the seedling grow faster with the higher temps I have for them now. Plus they will have food sooner. The Earthboxes wont overwater it, so the growth should be optimal? I will start a direct seed next time, in 2 weeks. Peace, slow
I’ll give that a try, perhaps my soil isn’t conducive ..... Roots are far superior to any other starter pot I’ve used and I’ve used a lot but mainly peat pots ..... When I transplant I DO NOT Water Plant it - Earthbox soil is already perfect - I do water the seedling day before transplant so it has enough water to carry though for another 10 hours or so anyways and when the roots hit the damp soil water is wicked into the plant - no water, she will be just fine - IF you suspect she is dry just give her a little spray at stem - couple squirts she will be fine ..... Good luck slow - oh, one other thing + I found an easy solution for cheap cover cap - On my nest box I’ll slip a second Earthbox Original over the Junior - covers nice and bugs won’t get thru a double, especially with the oversized original over the Junior .... Peace MOB


