Indoor Mars Hydro grow journal: WildBill does Hubbabubbasmelloscope in EarthBoxes under MarsHydro SP3000

Didn't take pics. Several roaming around the forum.
Just took a regular square bottom solo cup and cut out the sides along the contours of the cup at the top and thin columns going down. Kinda like Gothic arches on each side of the cup. I fit inside a second cup with holes in the bottom/ I have other cups in the containers level with the media. I replace the seedling in the two cup with the other cup. When I'm ready to transplant, I pull the cups out of the potm take off the outter cup, spray a malted barley spray on the transplant's media that's exposed and inside the hole in the pot and sprinkle mikos in the same fashion. Then place the transplant into the soil. Might lightly water from there.
It's for when you want to transplant, for what ever reason, and lessen the likelihood of the roots being restricted and lessen transplant shock or transplant stall.
Got it. Thx
 
Hey WB, looking great, man! MOB would love it! Plants look eager to do big things! I also liked waiting a bit when transplanting to my EBs. But a big part of that was because my boxes were outside and subjected to much more of nature’s elements. I would say that you want to do that before the roots get too developed, though. I would shoot for just as the leaves are as wide as the cup, as a rule of thumb.

I am in for the ride, brother! These should be some monsters!
 
Wish I had room for one. Of course, if I had room, I'd fill it up with plants so..........lol!

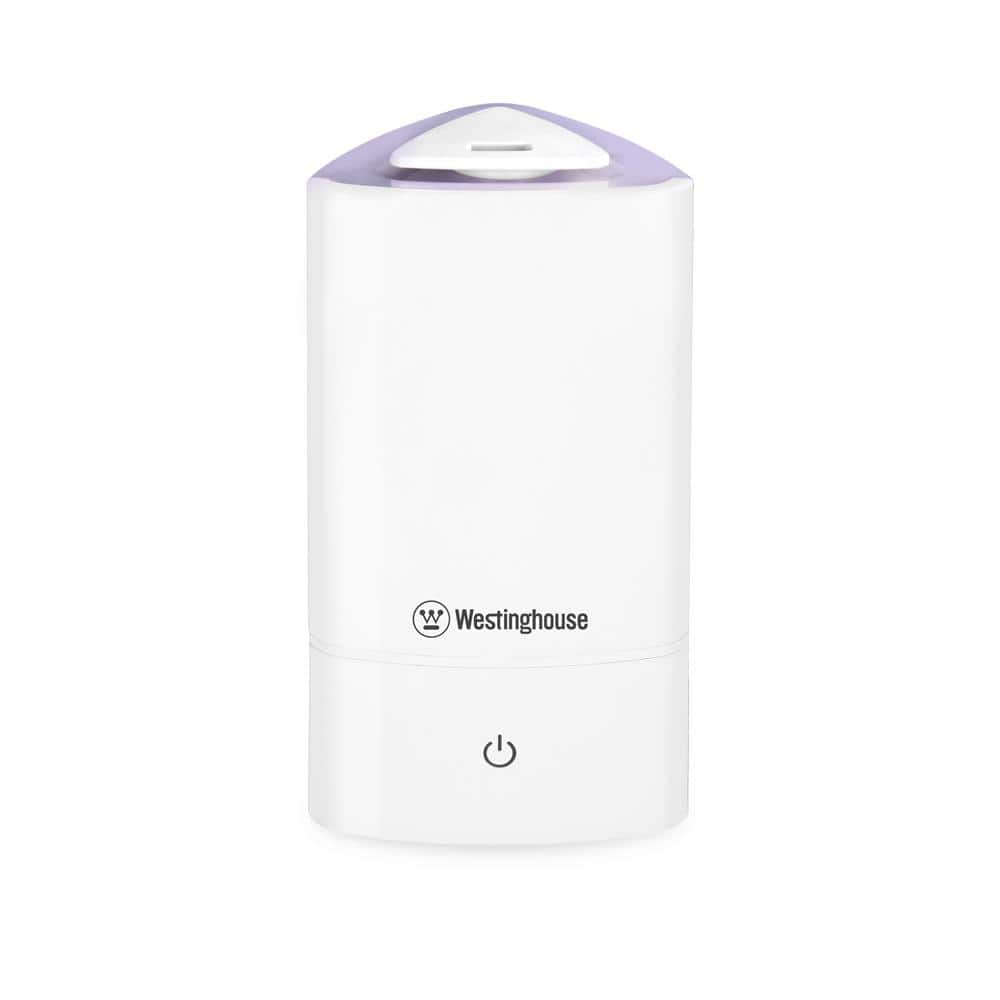
Well, my new humidifier came in. I chose to put it inside. I have the room, at the moment, and it's easier to regulate. Good size 1.59 gal TOP fill tank.
This will hopefully be a good tool. It's quite versatile. I can control it manually at the unit. It's networked, so I can use Alexa to do a bunch of things. There is also an app for your phone and you can fully control it. You can check the humidity the unit senses, but it did seem off. I'm gonna let it stabilize for a while and recheck.
I guess we'll see how well it works!


Here's the unit
Amazon product ASIN B08HS45N13
 
Hey WB, looking great, man! MOB would love it! Plants look eager to do big things! I also liked waiting a bit when transplanting to my EBs. But a big part of that was because my boxes were outside and subjected to much more of nature’s elements. I would say that you want to do that before the roots get too developed, though. I would shoot for just as the leaves are as wide as the cup, as a rule of thumb.

I am in for the ride, brother! These should be some monsters!
Thanks man! Sure thought about MOB when setting this up.
I'll direct seed in the EBs next time, I'll just wait on starting the wicking.

The new humidifier seems to be working fine and holding the humidity. The phone app works fine in controlling it.
 
Wish I had room for one. Of course, if I had room, I'd fill it up with plants so..........lol!
I'll probably have to move it outside the tent later in the grow for the room. The room is small enough to do that.
I wish they hadn't got so tall so quick. I guess I should have brought up the lights quicker. I had it at min. for a couple of days.
I guess I'll get both lights positioned, higher up from optimal veg height, but at 50%. I think I'll turn on the little Cali light too, but up high. I could use the heat and back off the temp on the oil filled heater outside the tent.
I don't think it will be too much light. What ya think?

edit...............and put them on 18/6 at 1800 today
 
Last edited:
It was time to pull off the starter dome with the first HBSS almost touching it. All the girls look healthy.

Yesterday I harvested more worms with the help of an avocado. It's so easy just grab a big ball of nothing but feeding frenzy worms! LOL! They got divided up between the two EBs

Time to get the EBs fully ready for the girls! I have some compost that I used many years ago before I made my own. It's simple and effective. It's for feeding the worms. I mounded up the compost and misted the compost with some molasses water and then added the bokashi on top and wet that down. I left plenty of room for future additions.

Today, I fitted the covers, cut for the cups and replaced the cups with the girls. I was greeted by one of my worms at the bottom of one cup I replaced. I placed the cups with Kong and Sour Stomper in their 7gal pots.

Tent environment has been running very consistently at 79-82*F and 50-62% Rh.
Lights are high up, not at any measured height, but running at 50%
EBs are full of plain rainwater in the rez

The Girls
HBSS top 2
Kong on the left and Sour Stomper on the right at the bottom
View attachment 1275014

Tent layout before covers
View attachment 1275016

All Set Up!
View attachment 1275017


This is the cheap little ultrasonic humidifier in the pic. It has three "speeds", but no humidistat. I can get a very stable Rh with my exhaust fan just barely running. I have a better unit coming in with better controls. If you need something in a pinch, you can make this unit work quite well in a 4x4. It can run over 8hs on "high".

Yeah, I've gotta get some shot glasses. My current collection is too special to use 'em like this. :cools:

I plan to transplant on Sat or Sunday to give the girls time to get their roots in order. By that time, the girls should be able to "Hit the pot running!"
Is there a need to ph rainwater if ur not adding notes?
 
I'm really liking baby Kong. VERY nice vigor. I think I can see that main stem thickness trait coming in...................VERY noticeable from the others.

I'm seriously considering putting her into one of the EarthBoxes.

Baby Kong Day 6

IMG_20210115_175924907_HDR.jpg
 
Back
Top