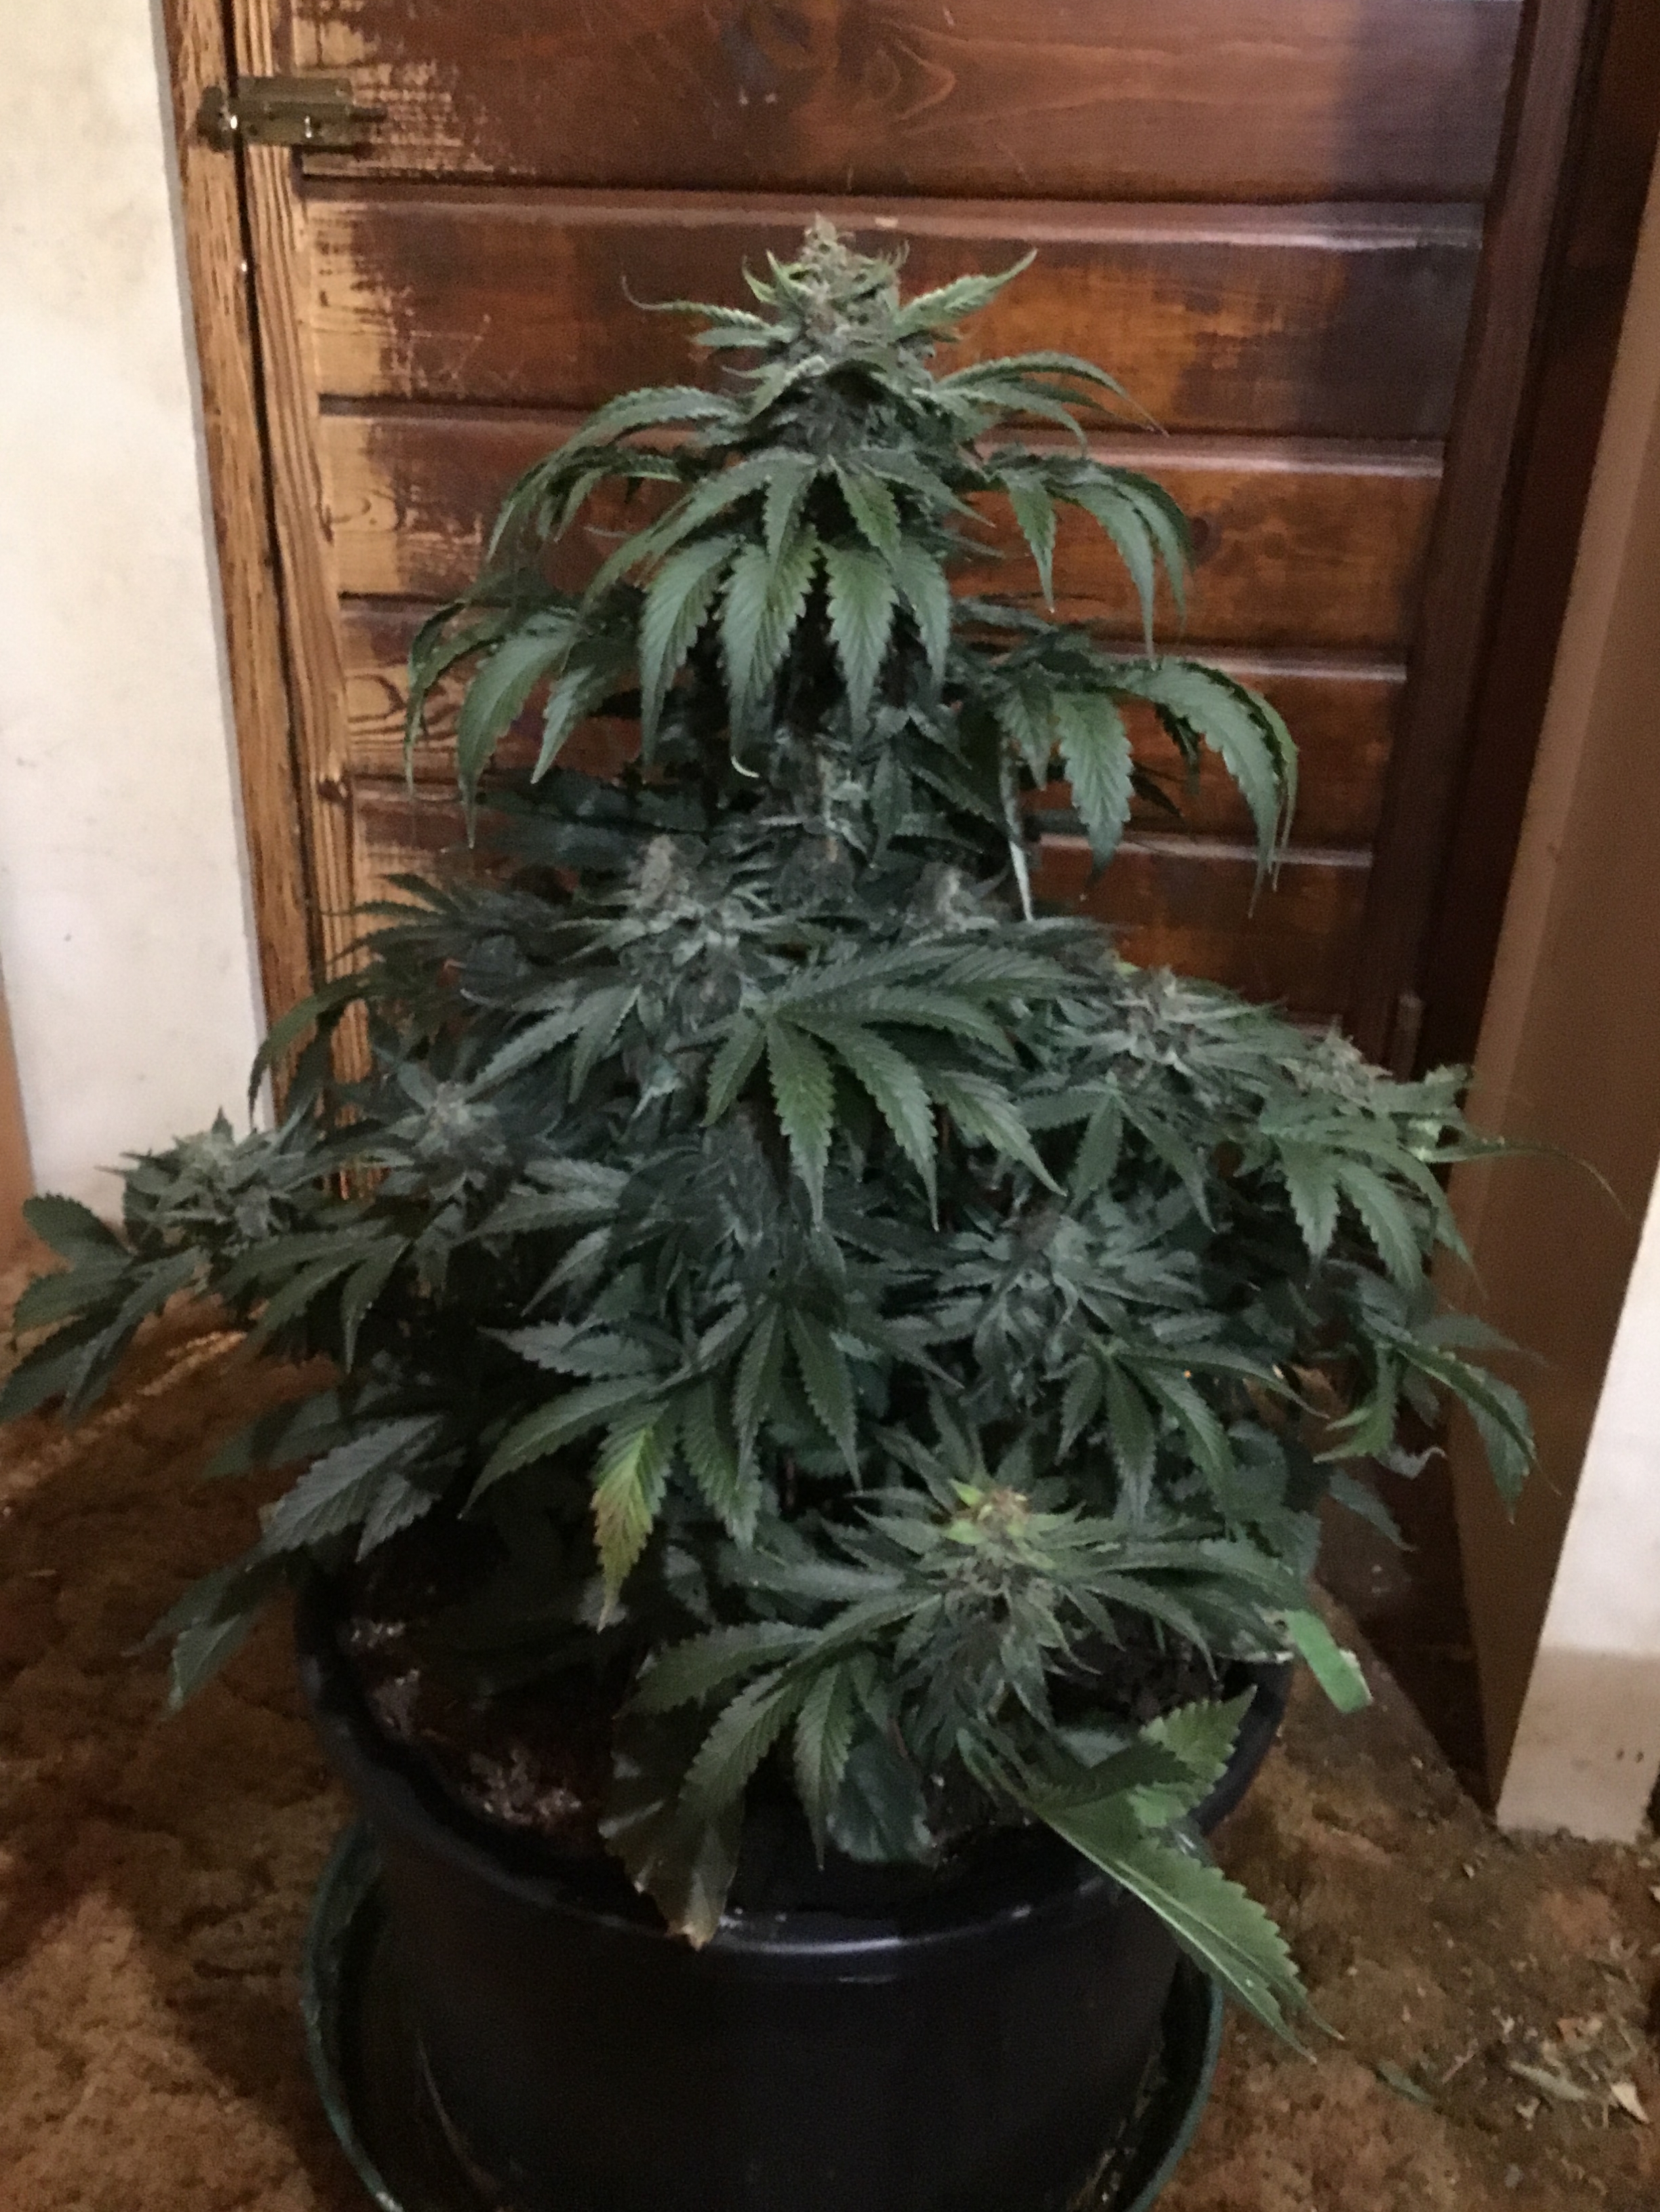
I thought I would write a bit about what I do with my no till containers.
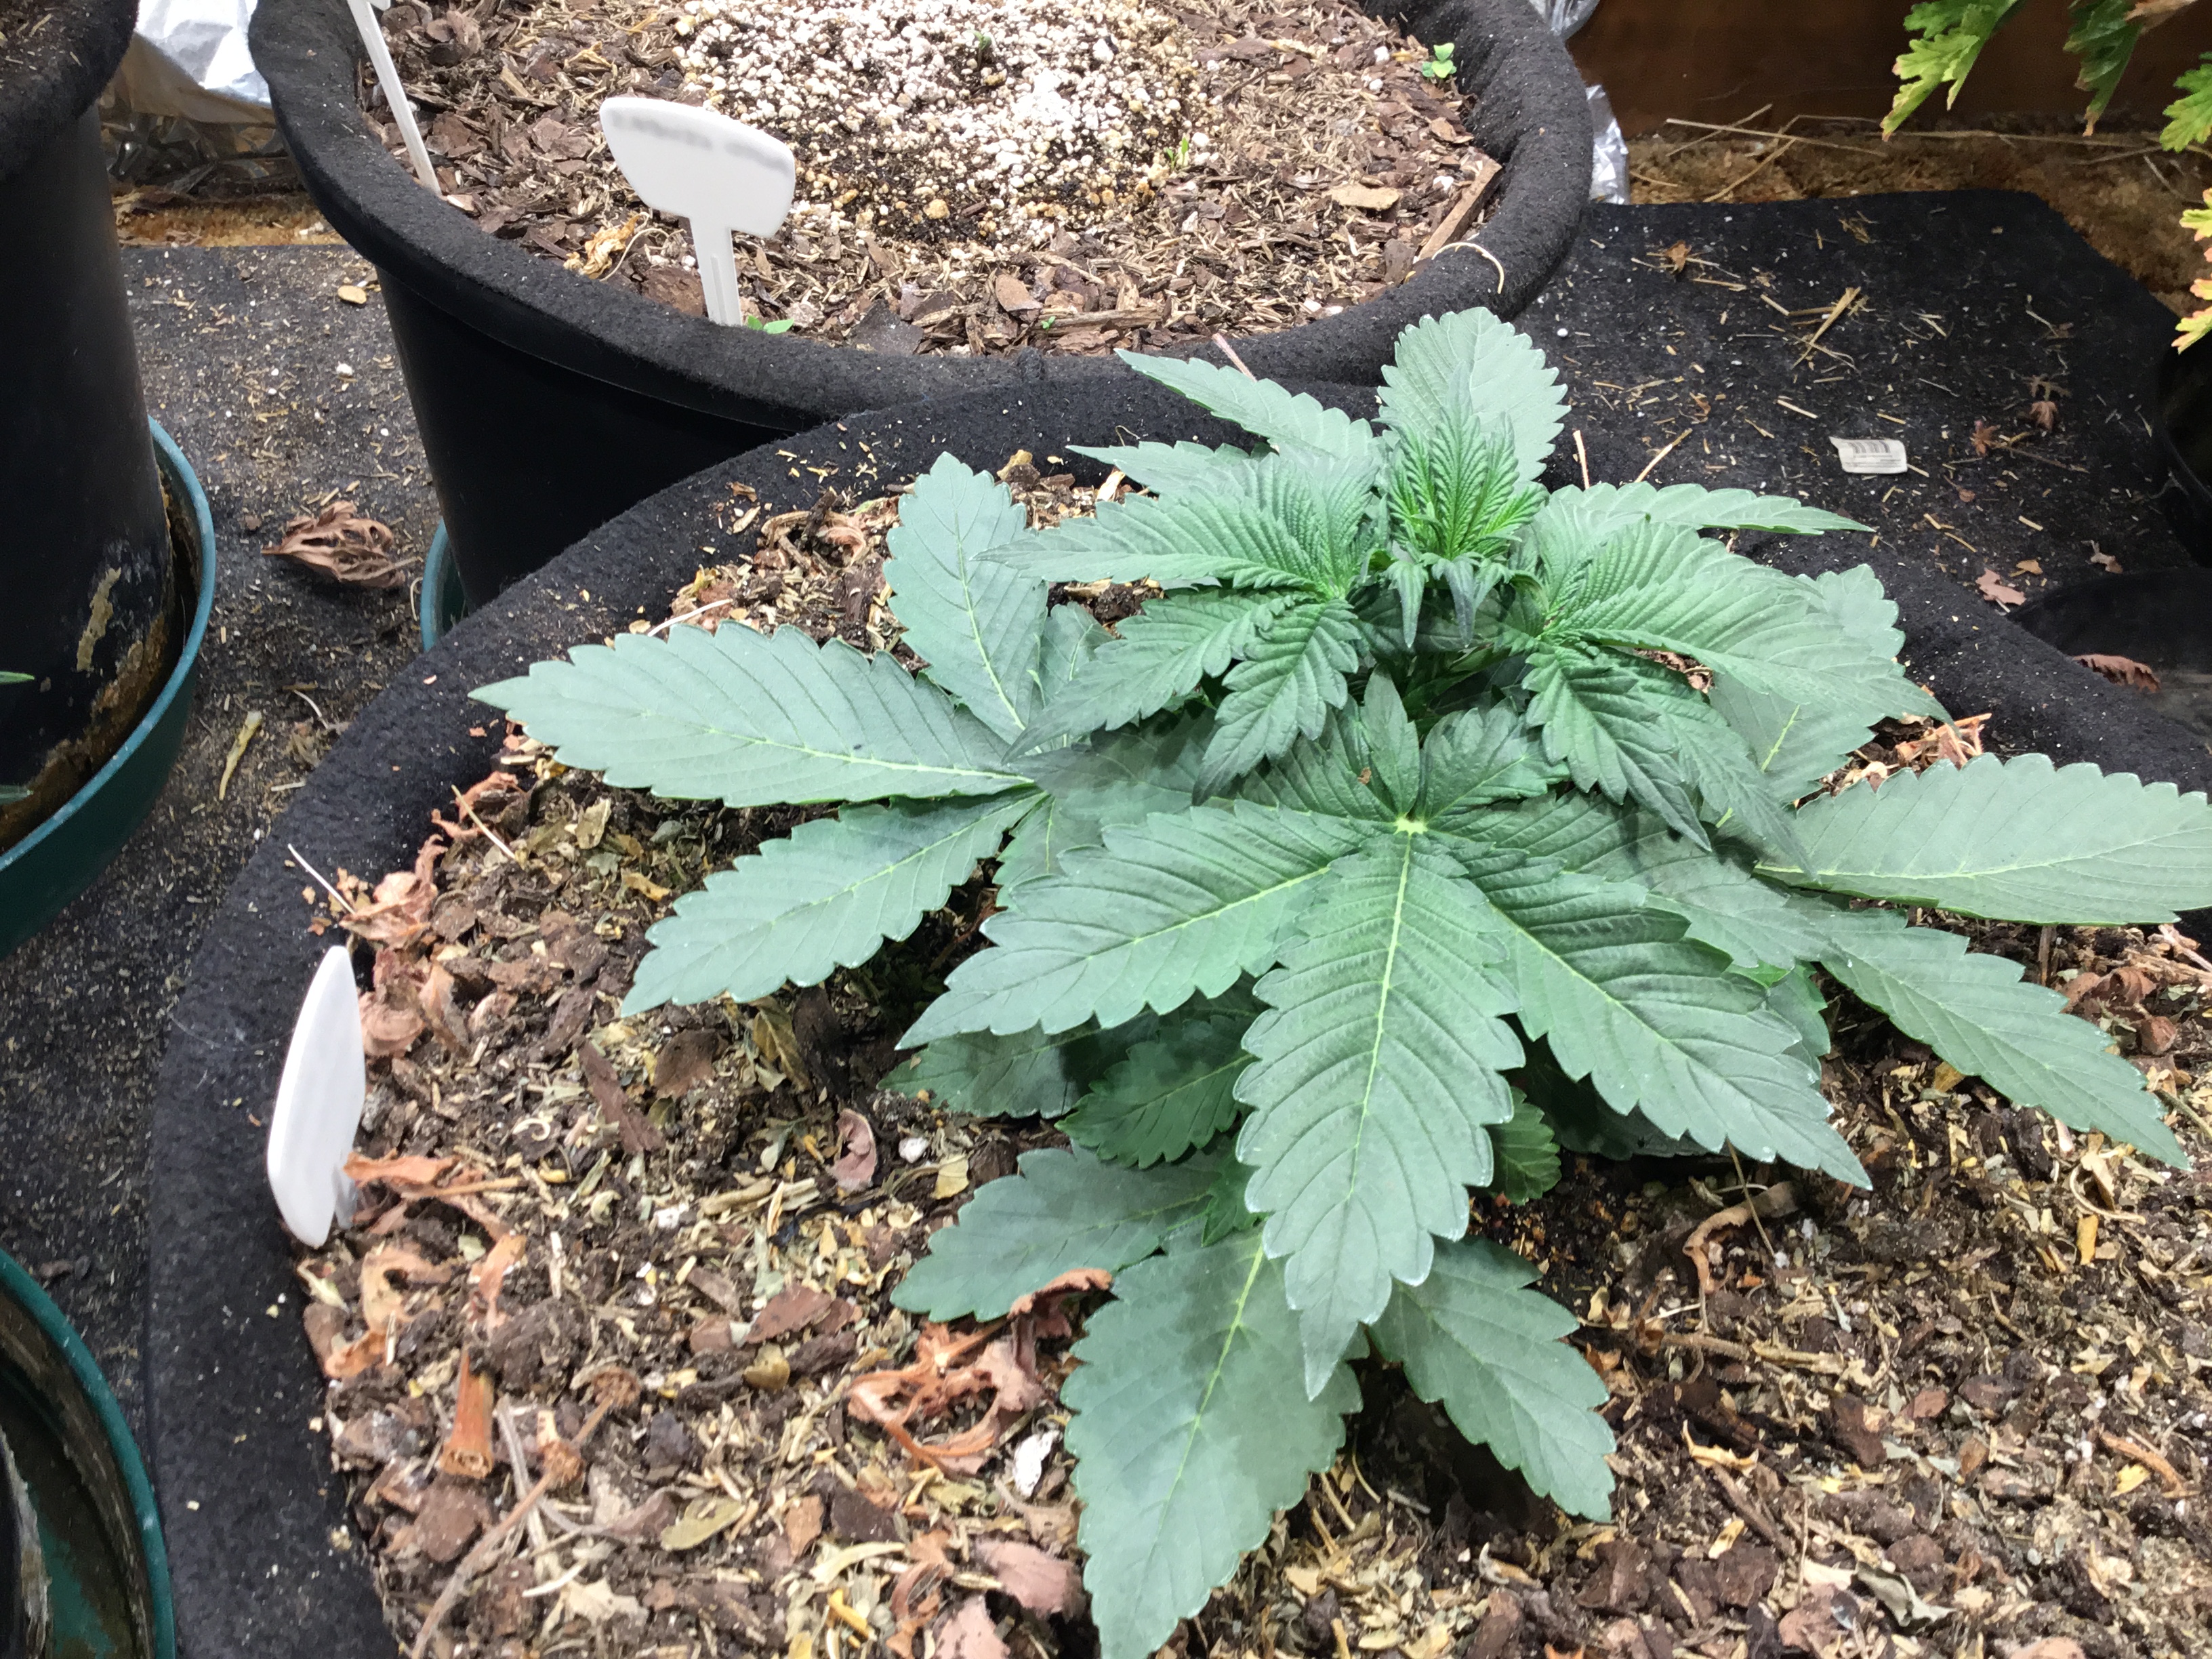
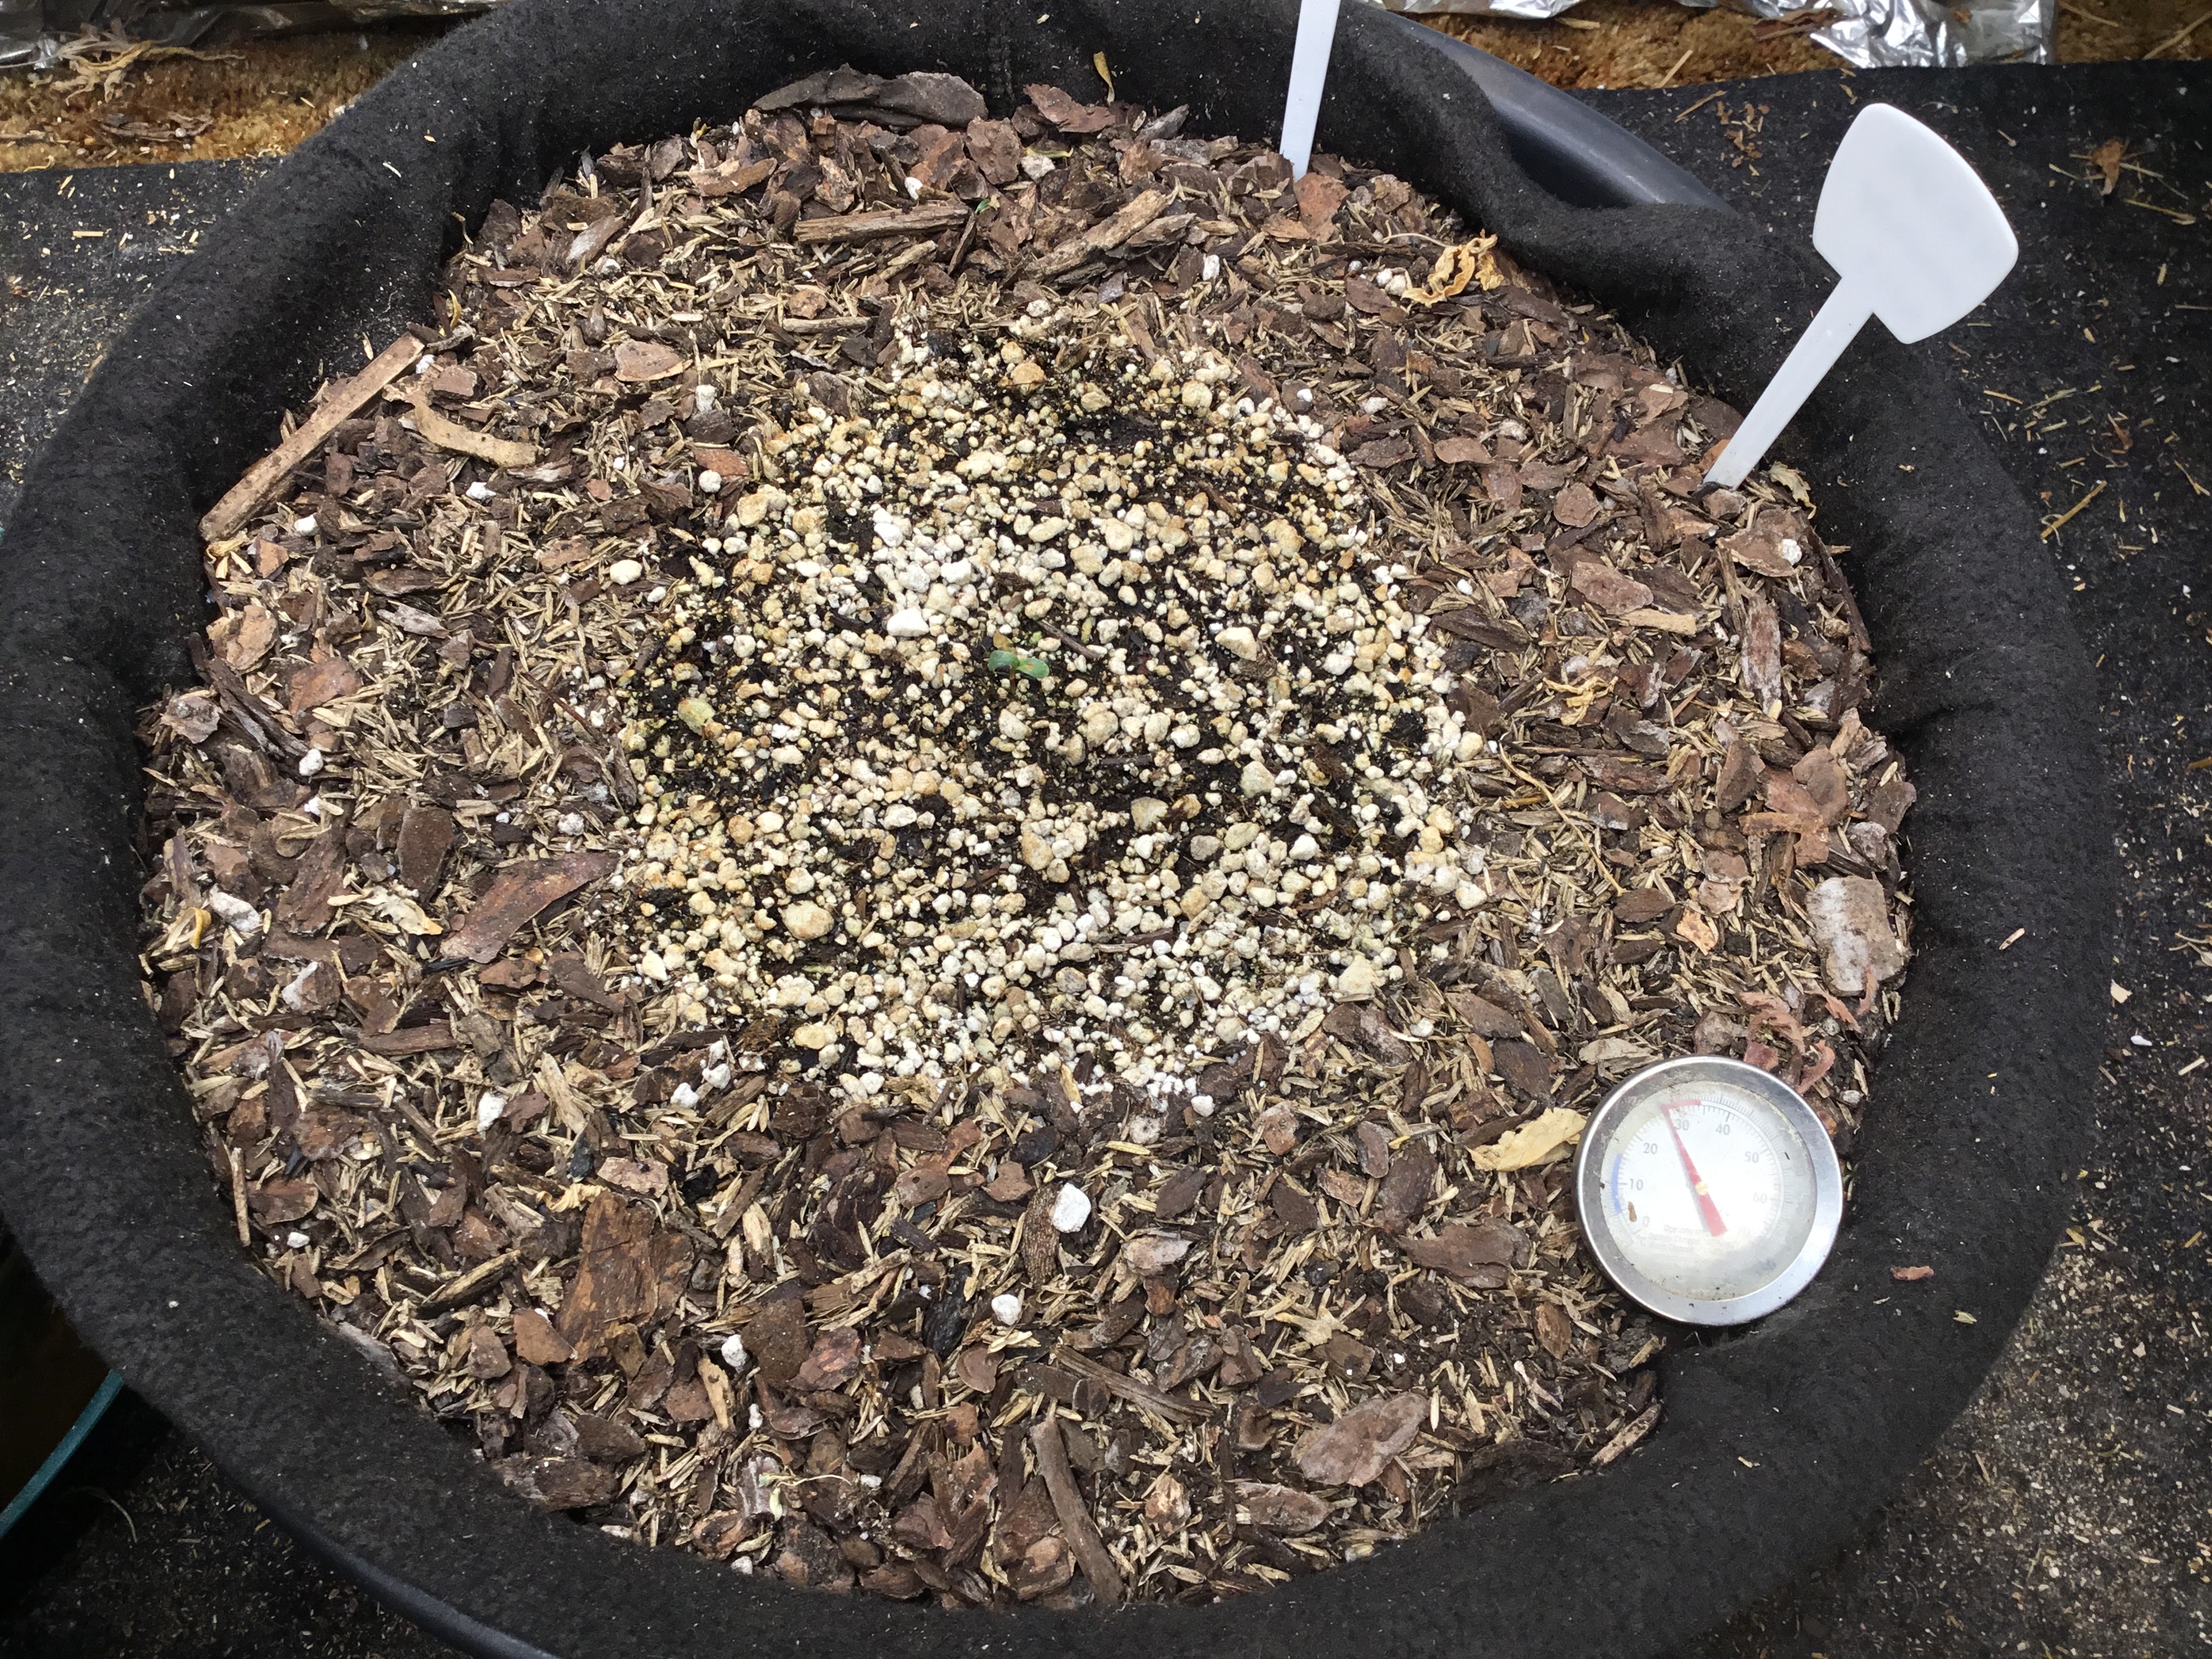
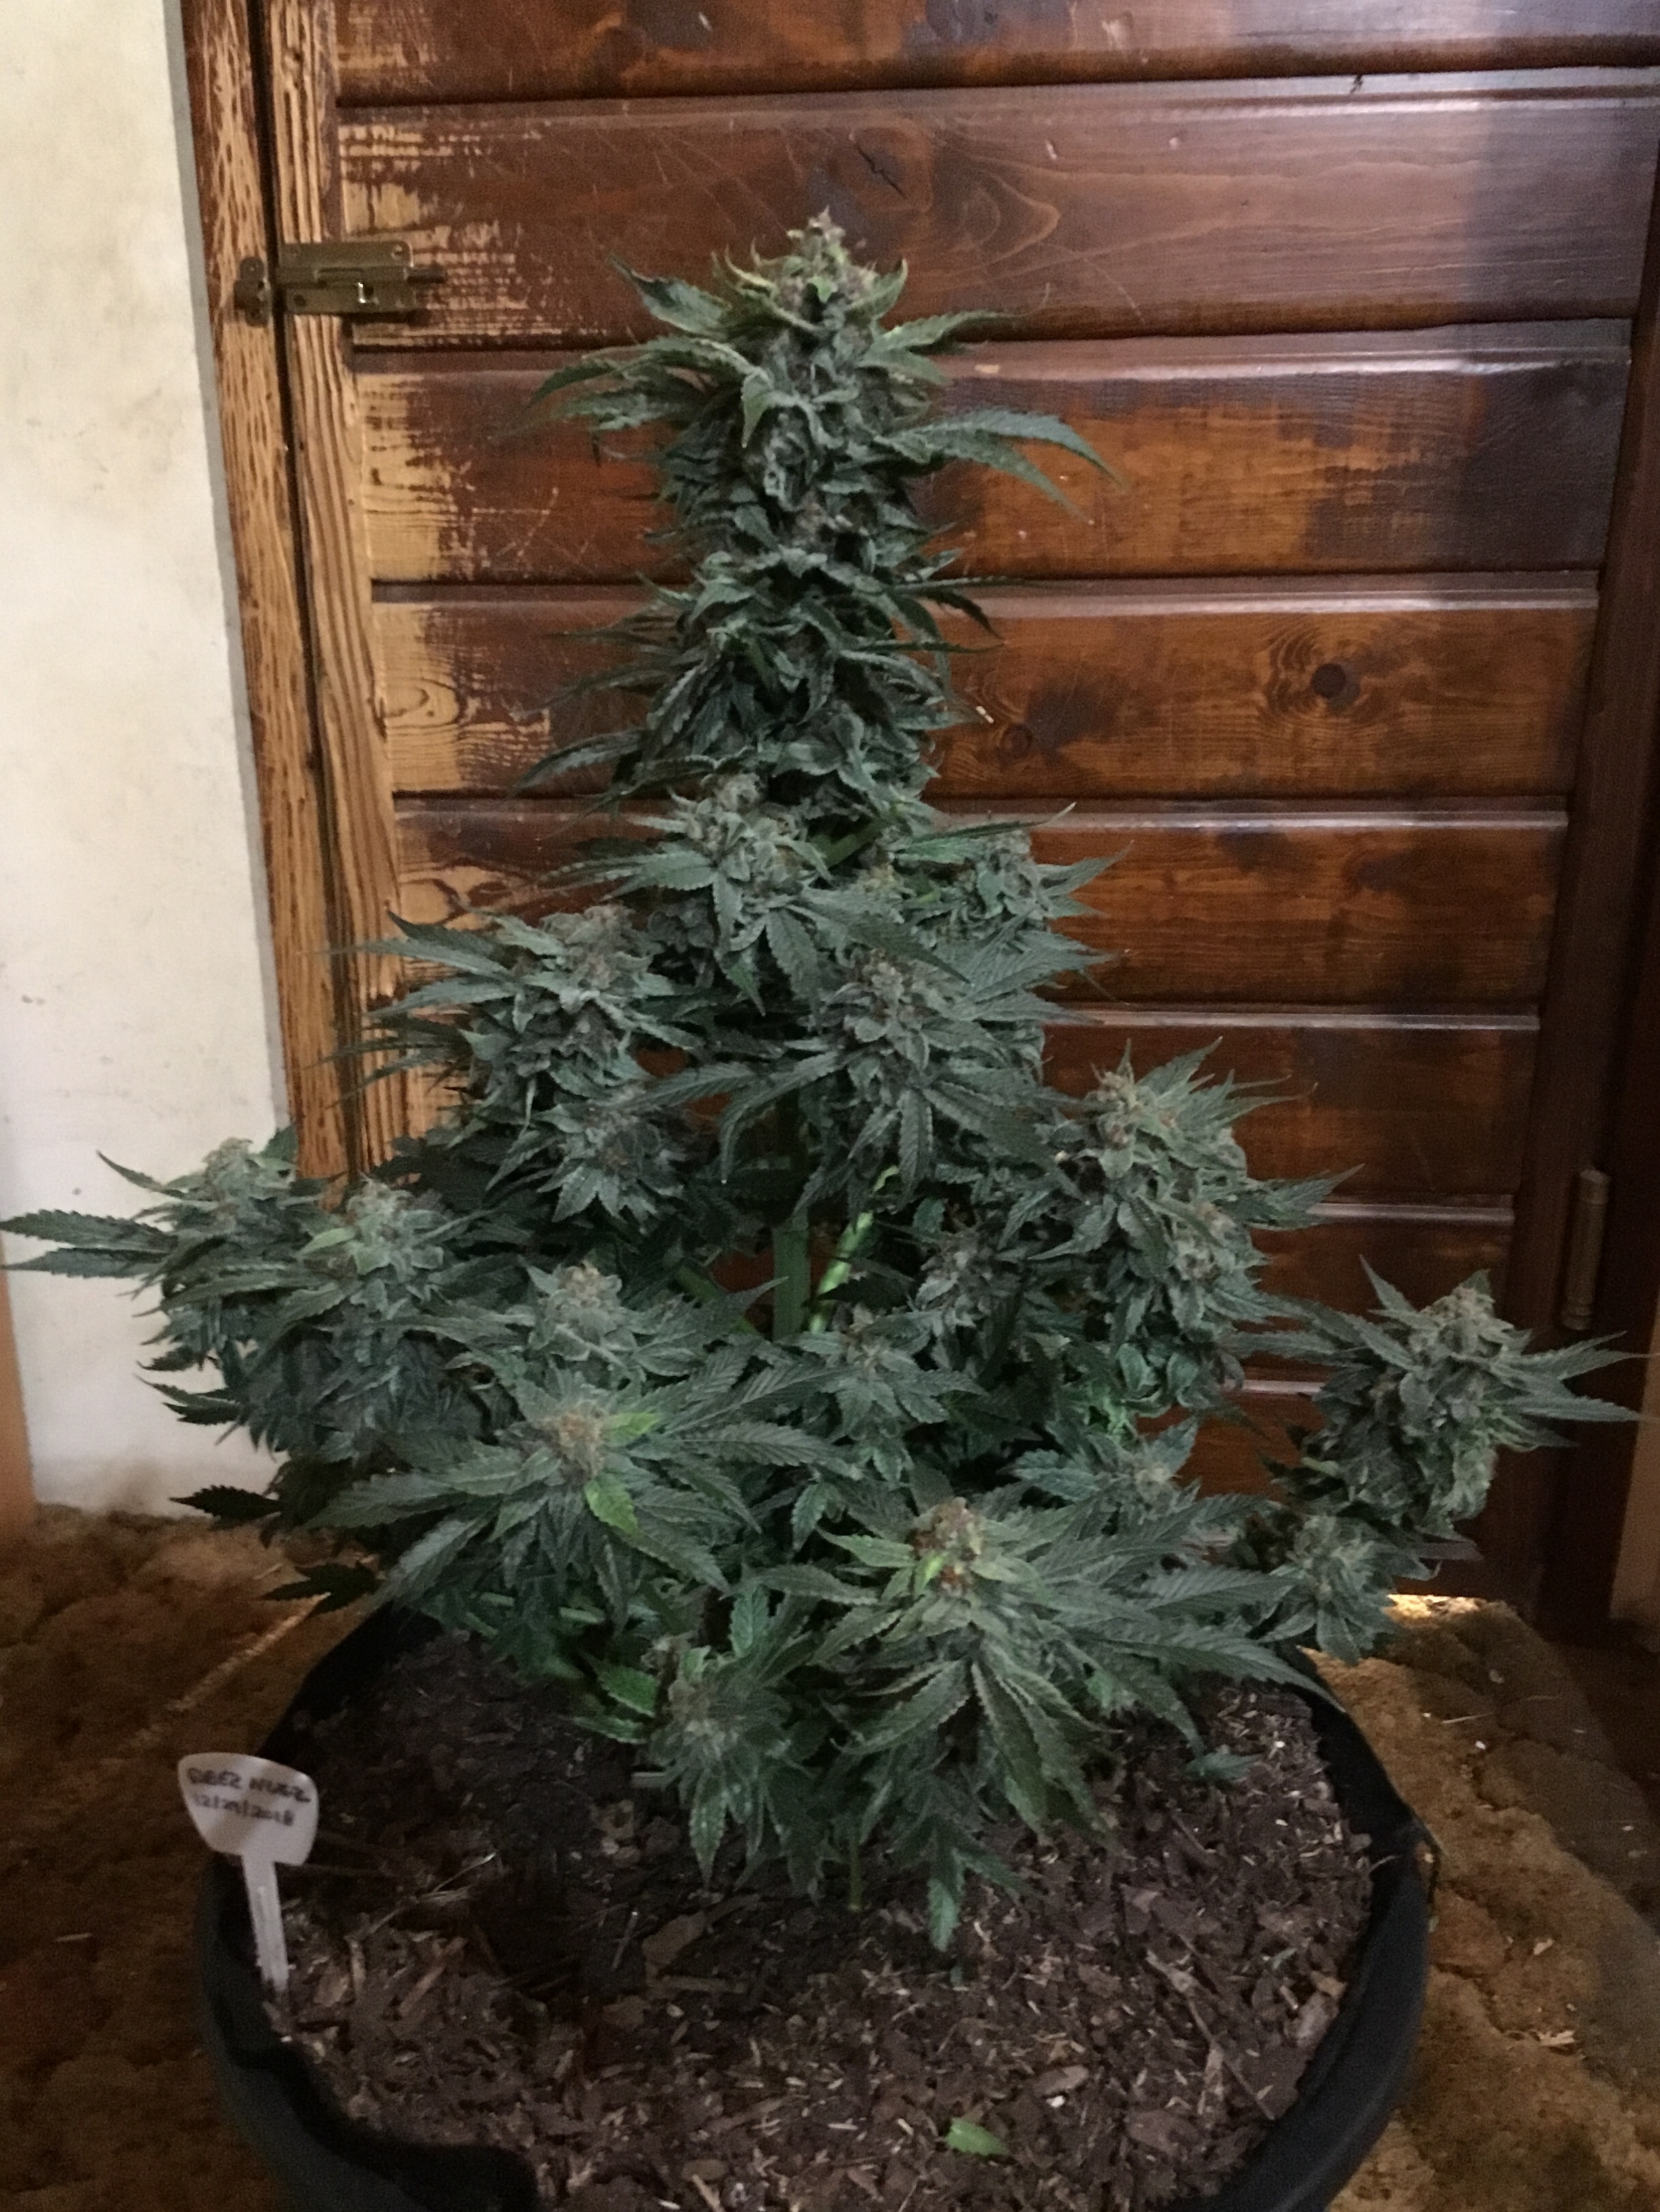
With no till containers, at harvest time I chop the plant as low to the ground as I can. In fact I try to pull back the mulch and top dress around the stem, and cut down into the hole. Then I fill this little hole around the stem with fully saturated seed starter and plant a seed. Once the seed pops up, I am left with a surface pretty devoid of mulch. Most of the previous mulch will have been broken down with just some larger bark bits showing. This pic is the perfect example.
A week to ten days after a seed cracks the surface I like to mulch all around the seedling with a thick blanket of leaves. I put some thought into this step, as this is where I feed the soil. For mulch I like to use dried fan leaves, crumbled up into tiny pieces as a first layer. Broken down into small bits, allows them to decompose much faster. I then mist them. Next I like to throw down a layer of shredded comfrey. This breaks down super fast and is a great supplier of nutrients. I grow comfrey in the summer, and freeze a couple bags of leaves for my winter needs. I mist the mulch again. From there on out, I layer some clover, holy basil, and citronella leaves. I just happen to have these extra leaves from my houseplants. I mist water in between every layer. I also lay down 2 tablespoons of a mixture of corn, soy, wheat chaf, alfalfa, and calcium (its actually special chicken feed I run thru the coffee grinder). I then mist this with water.
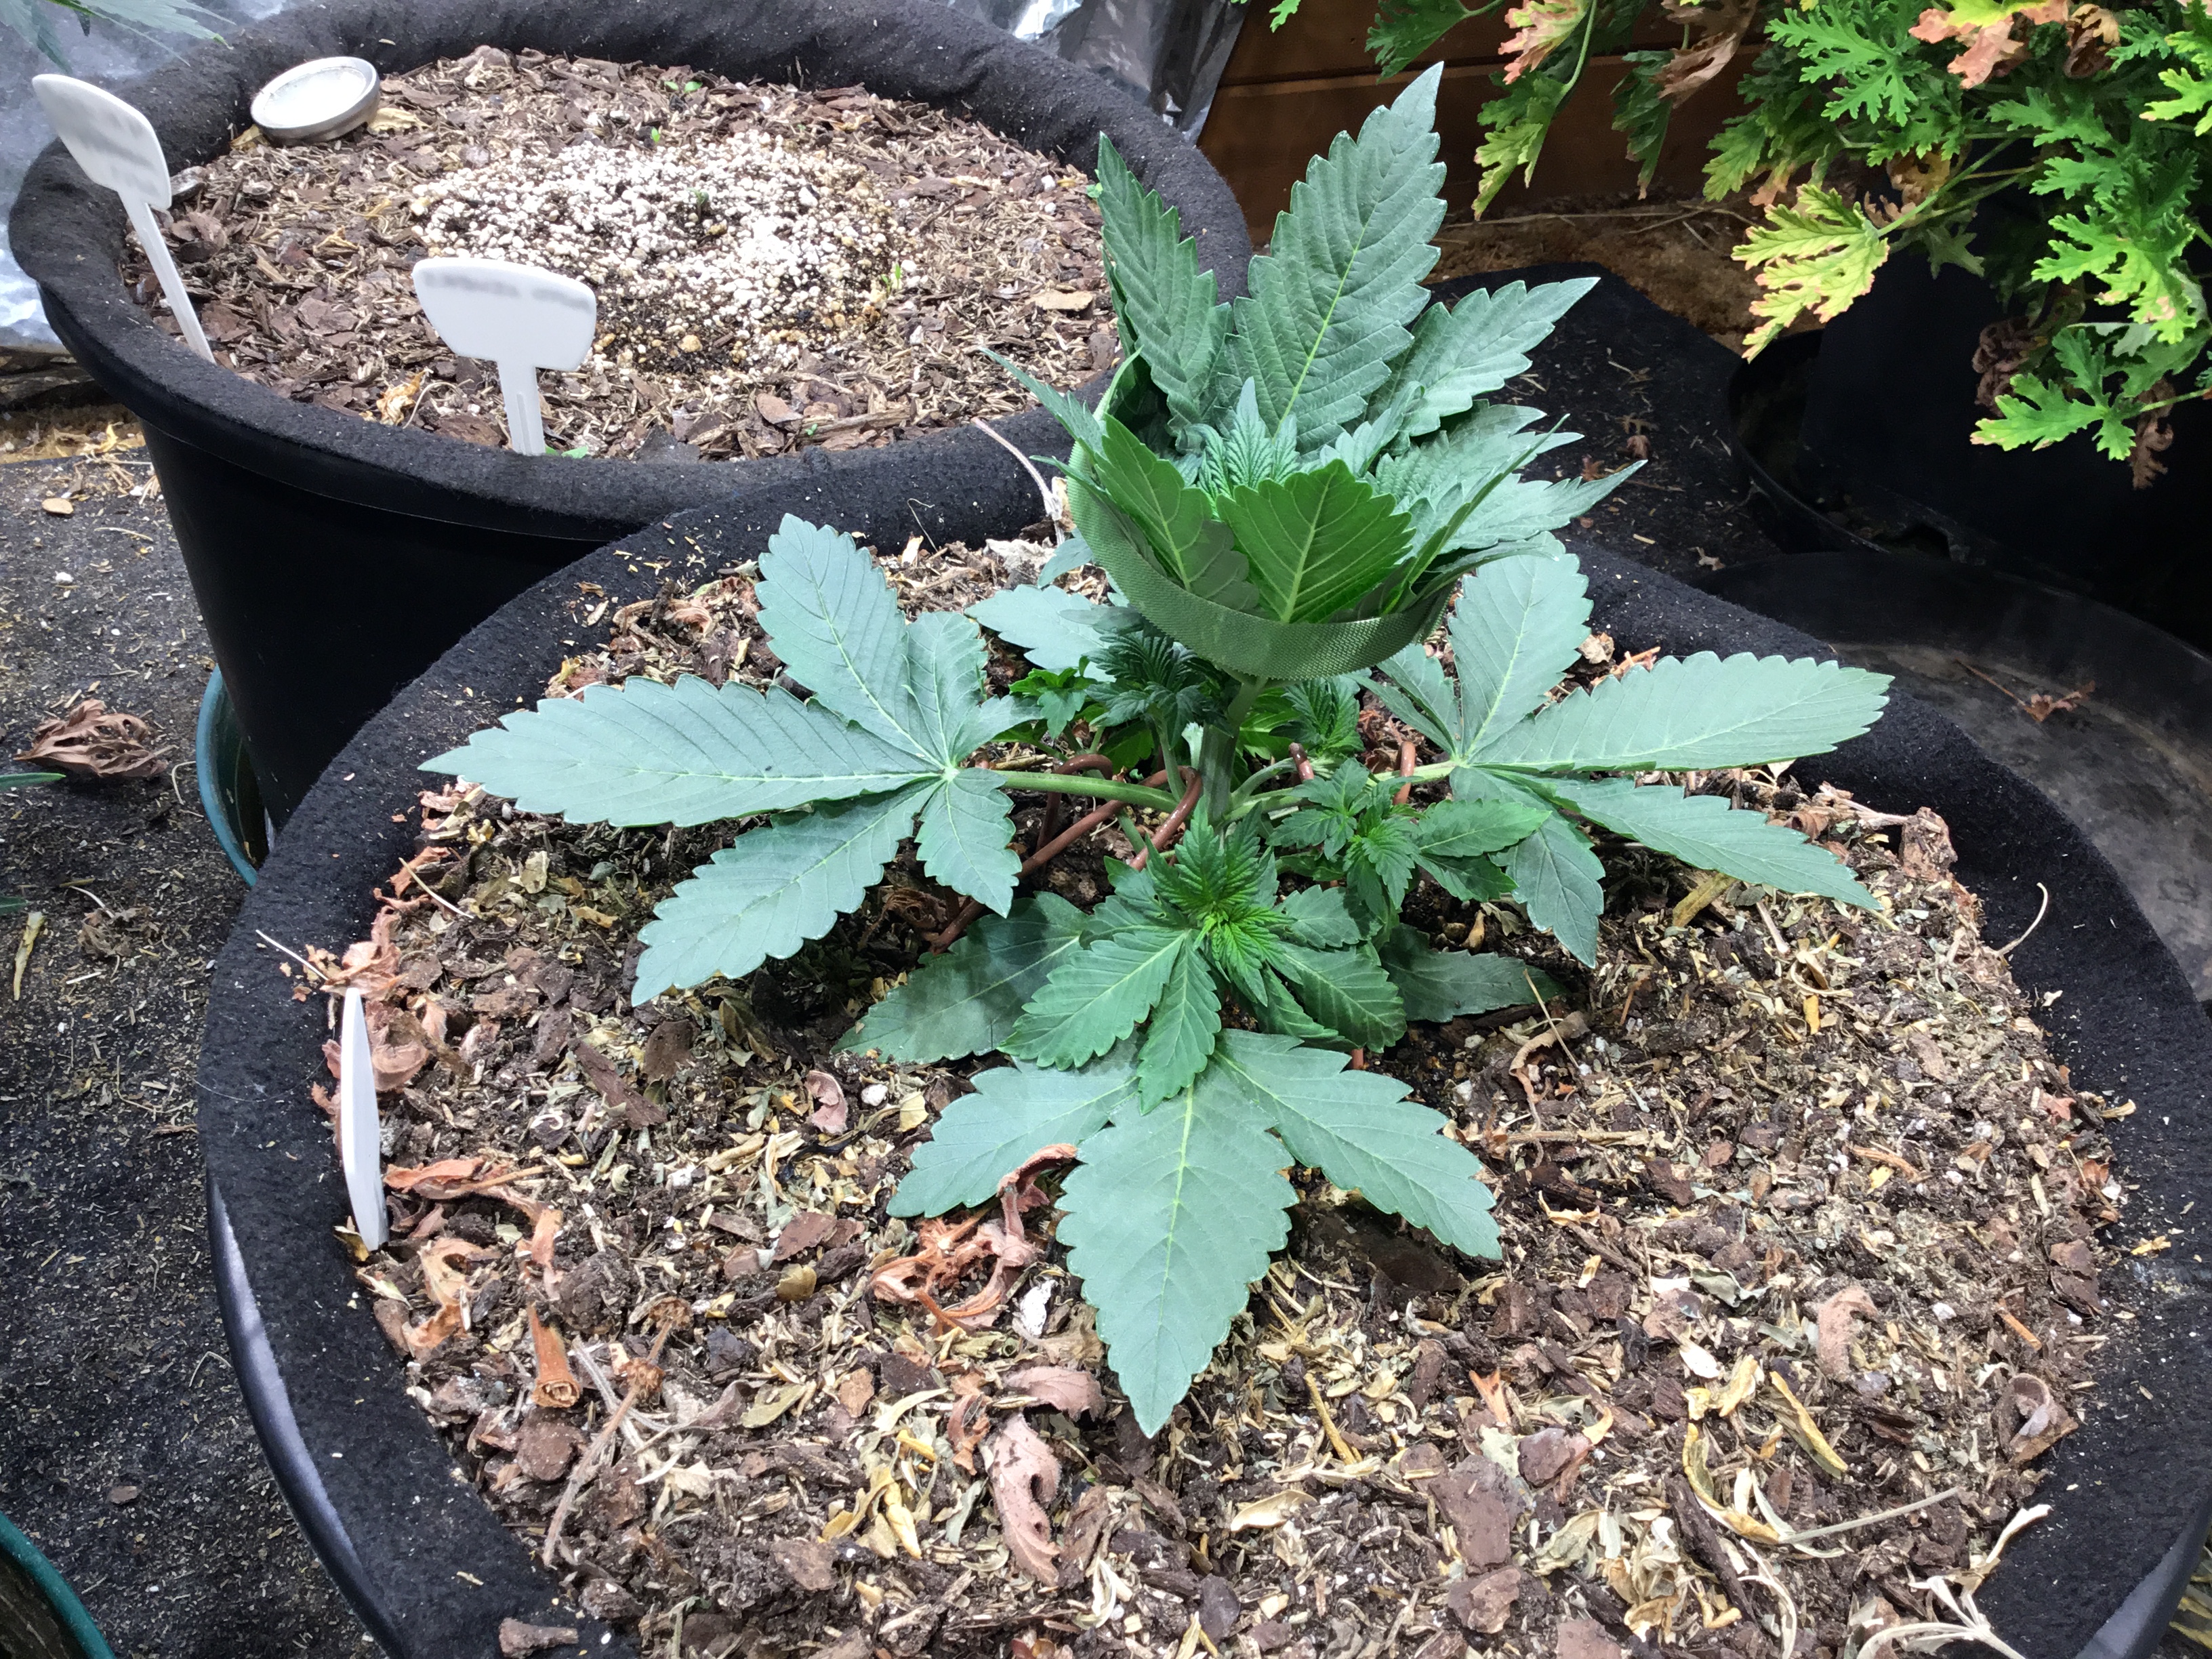
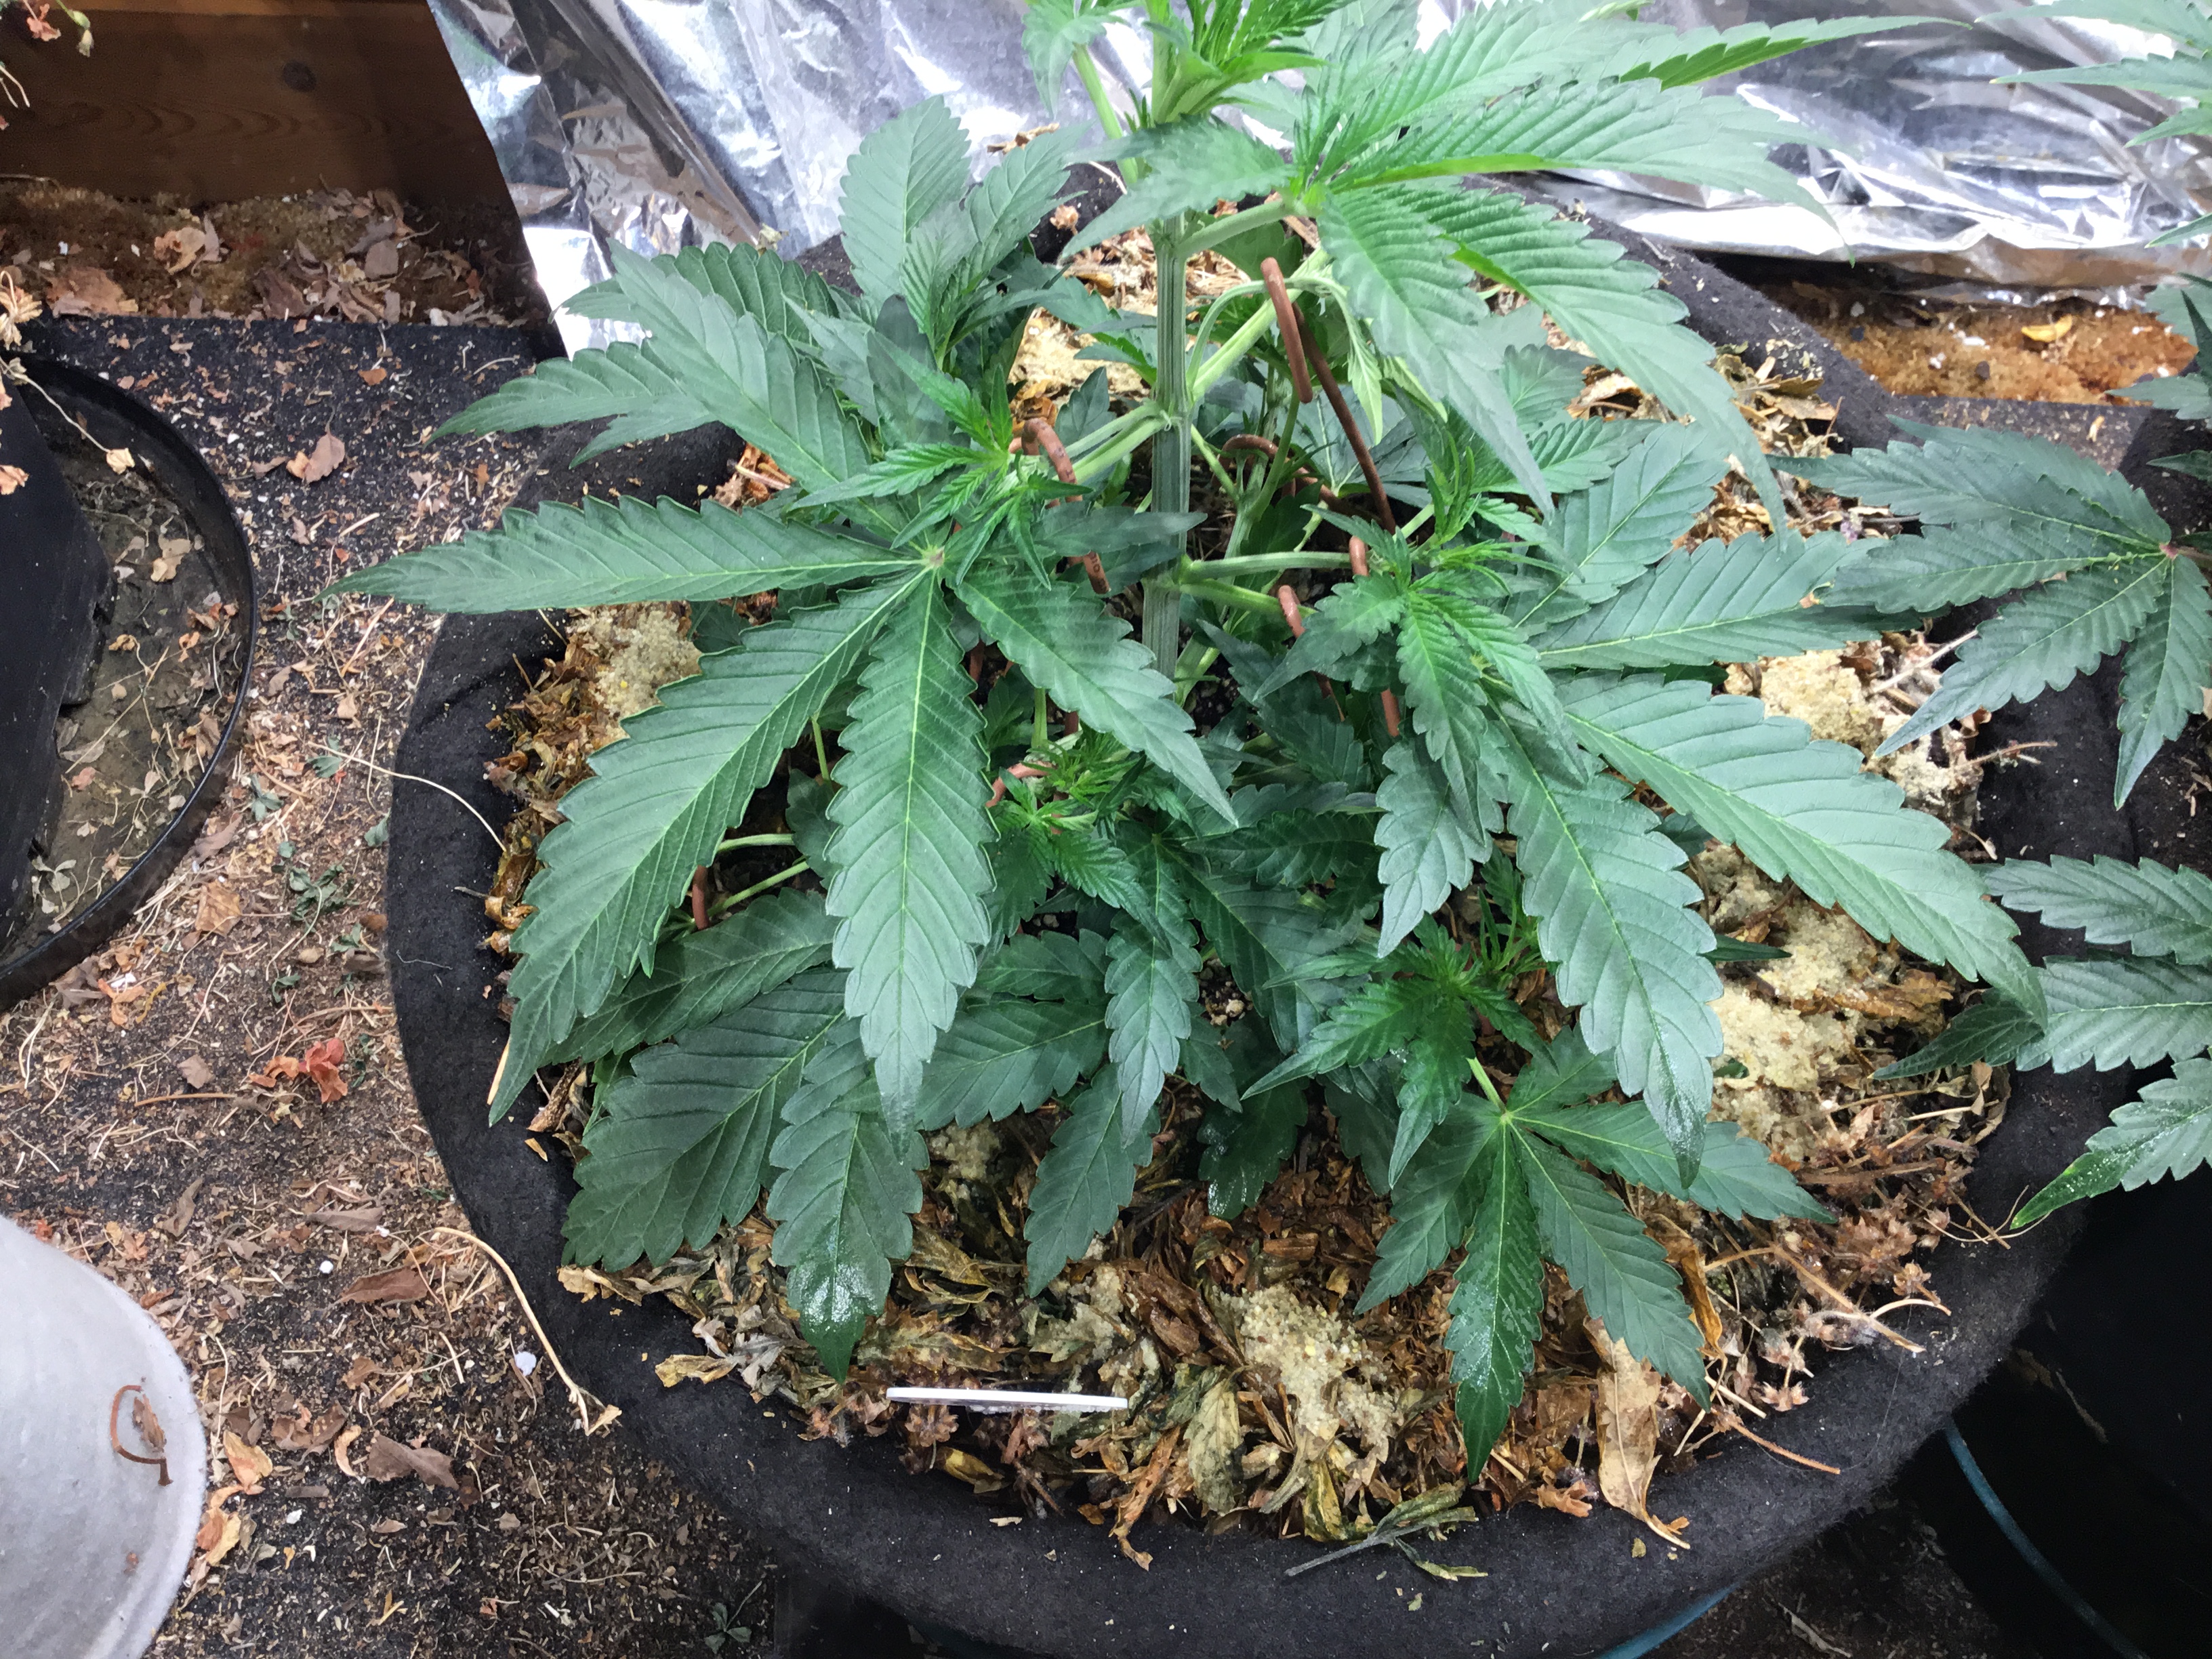
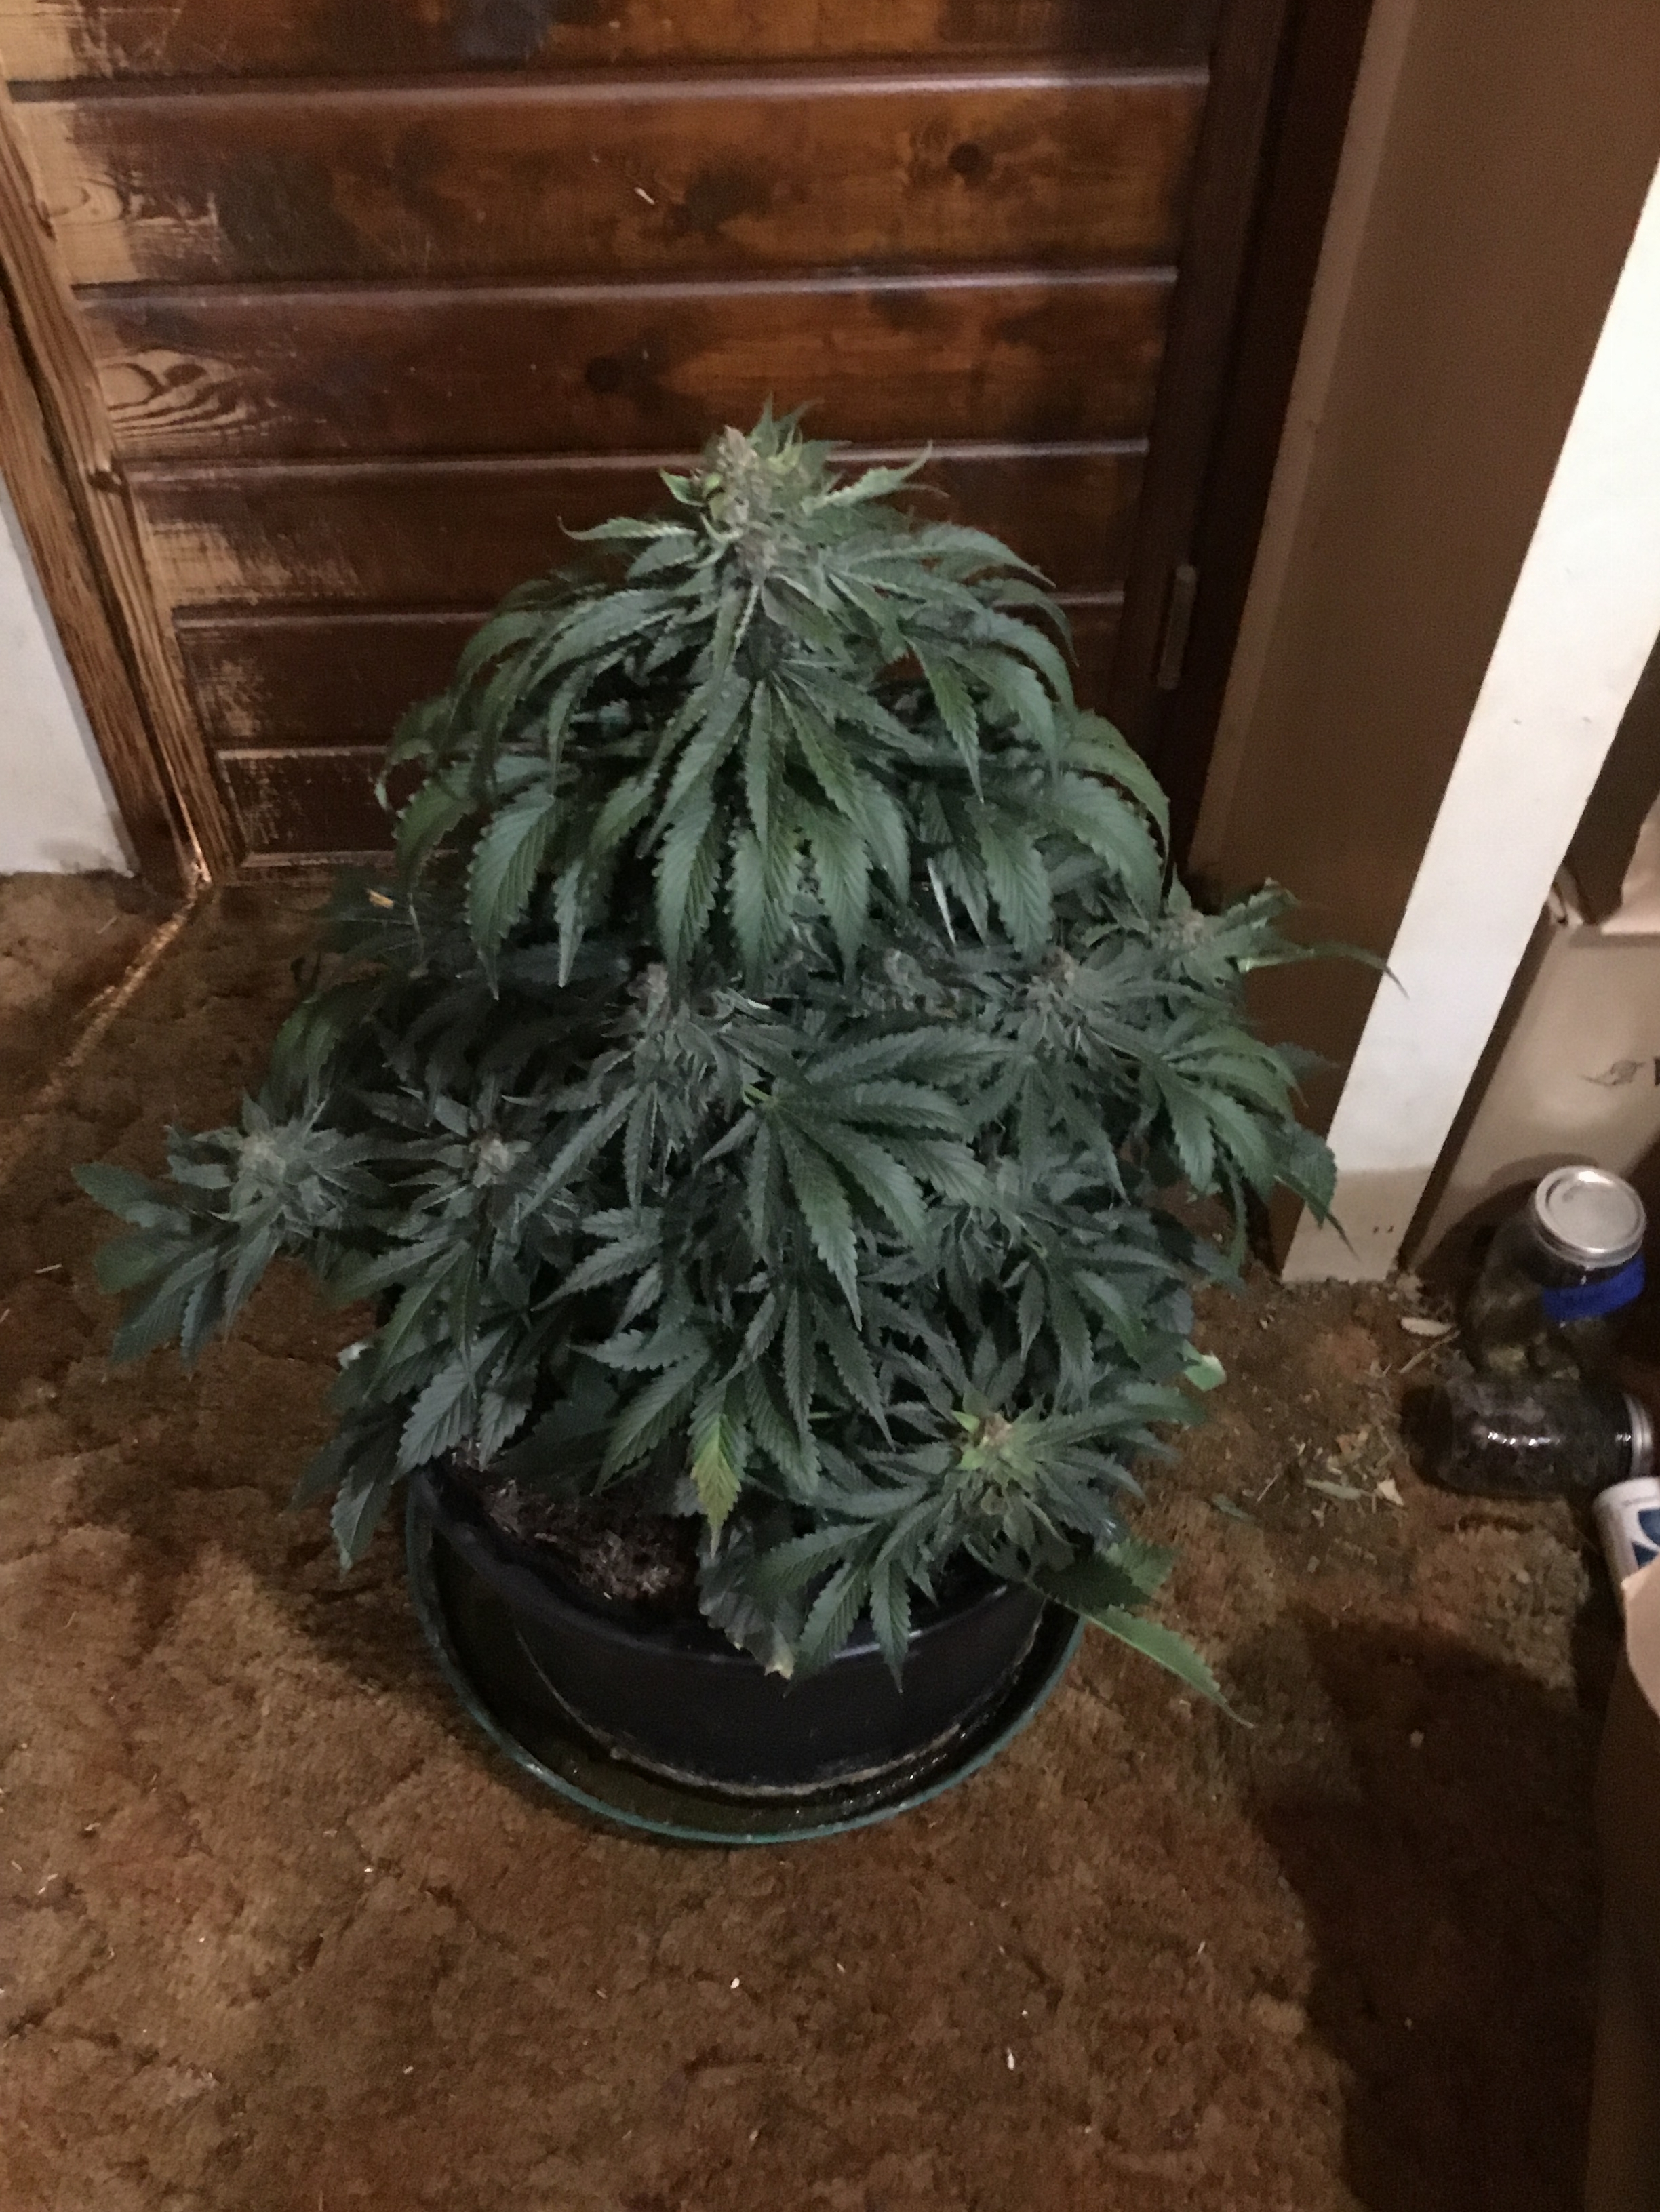
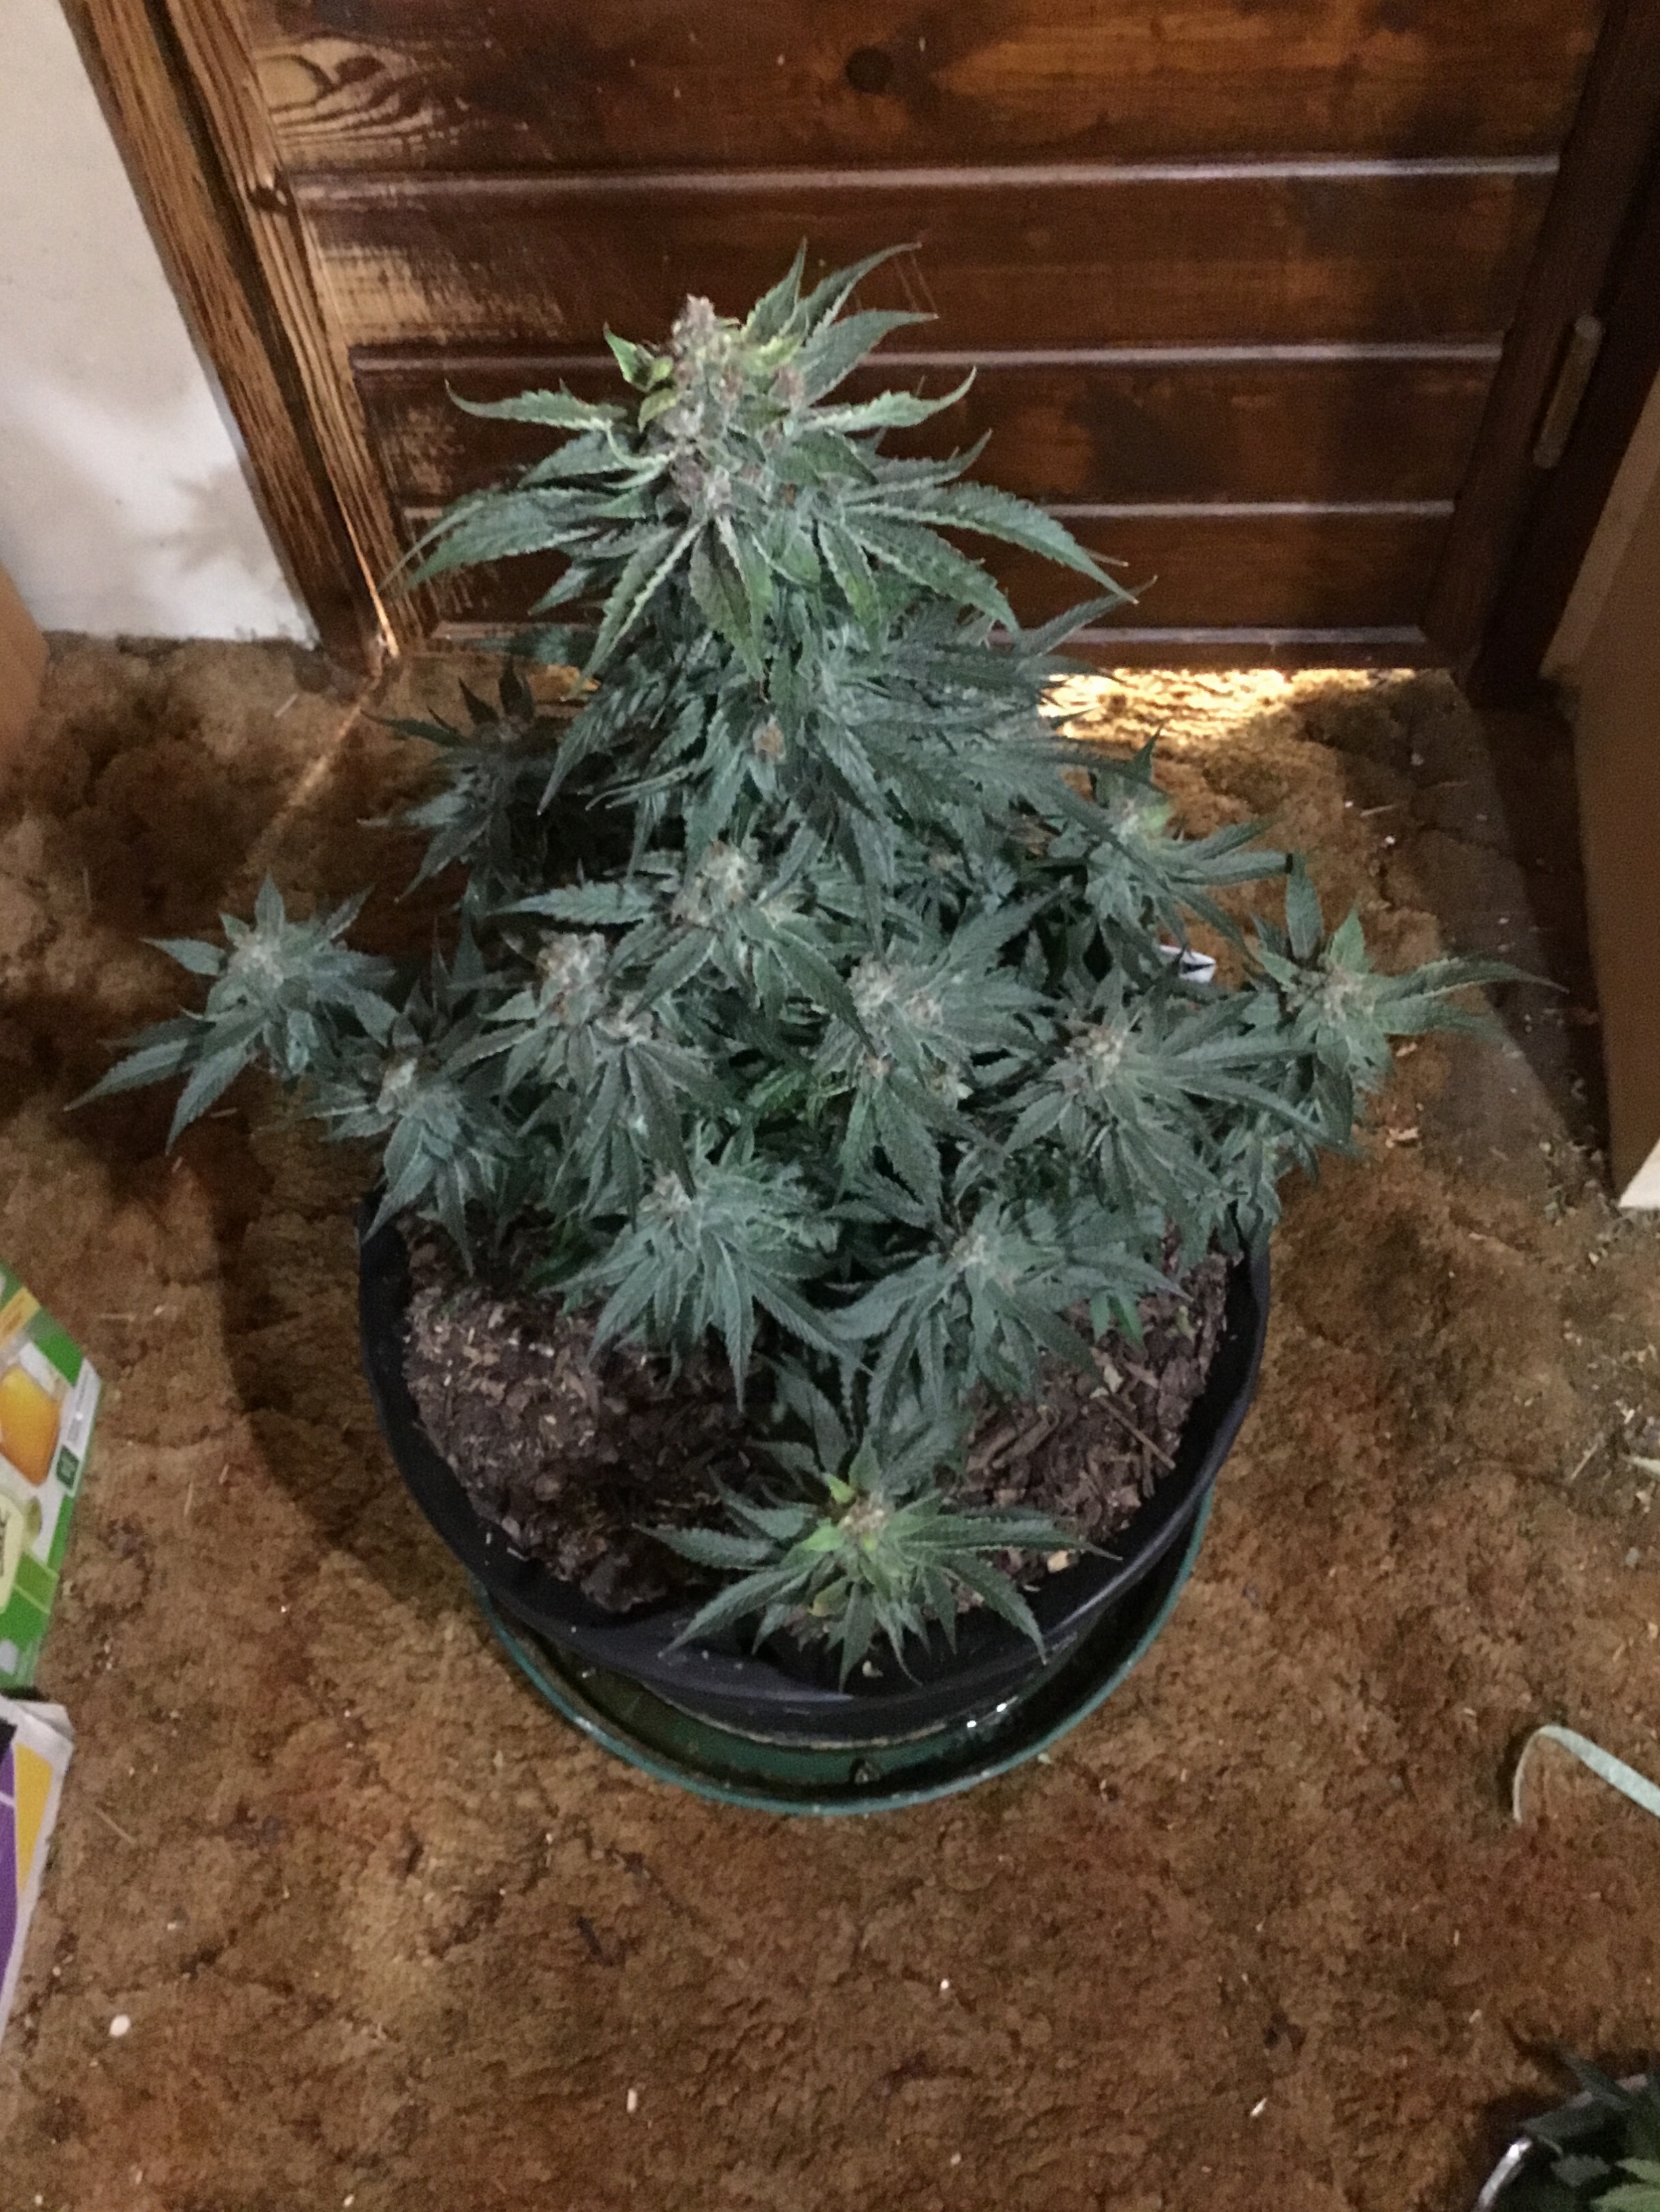
I built the mulch layer on this container about a week ago.
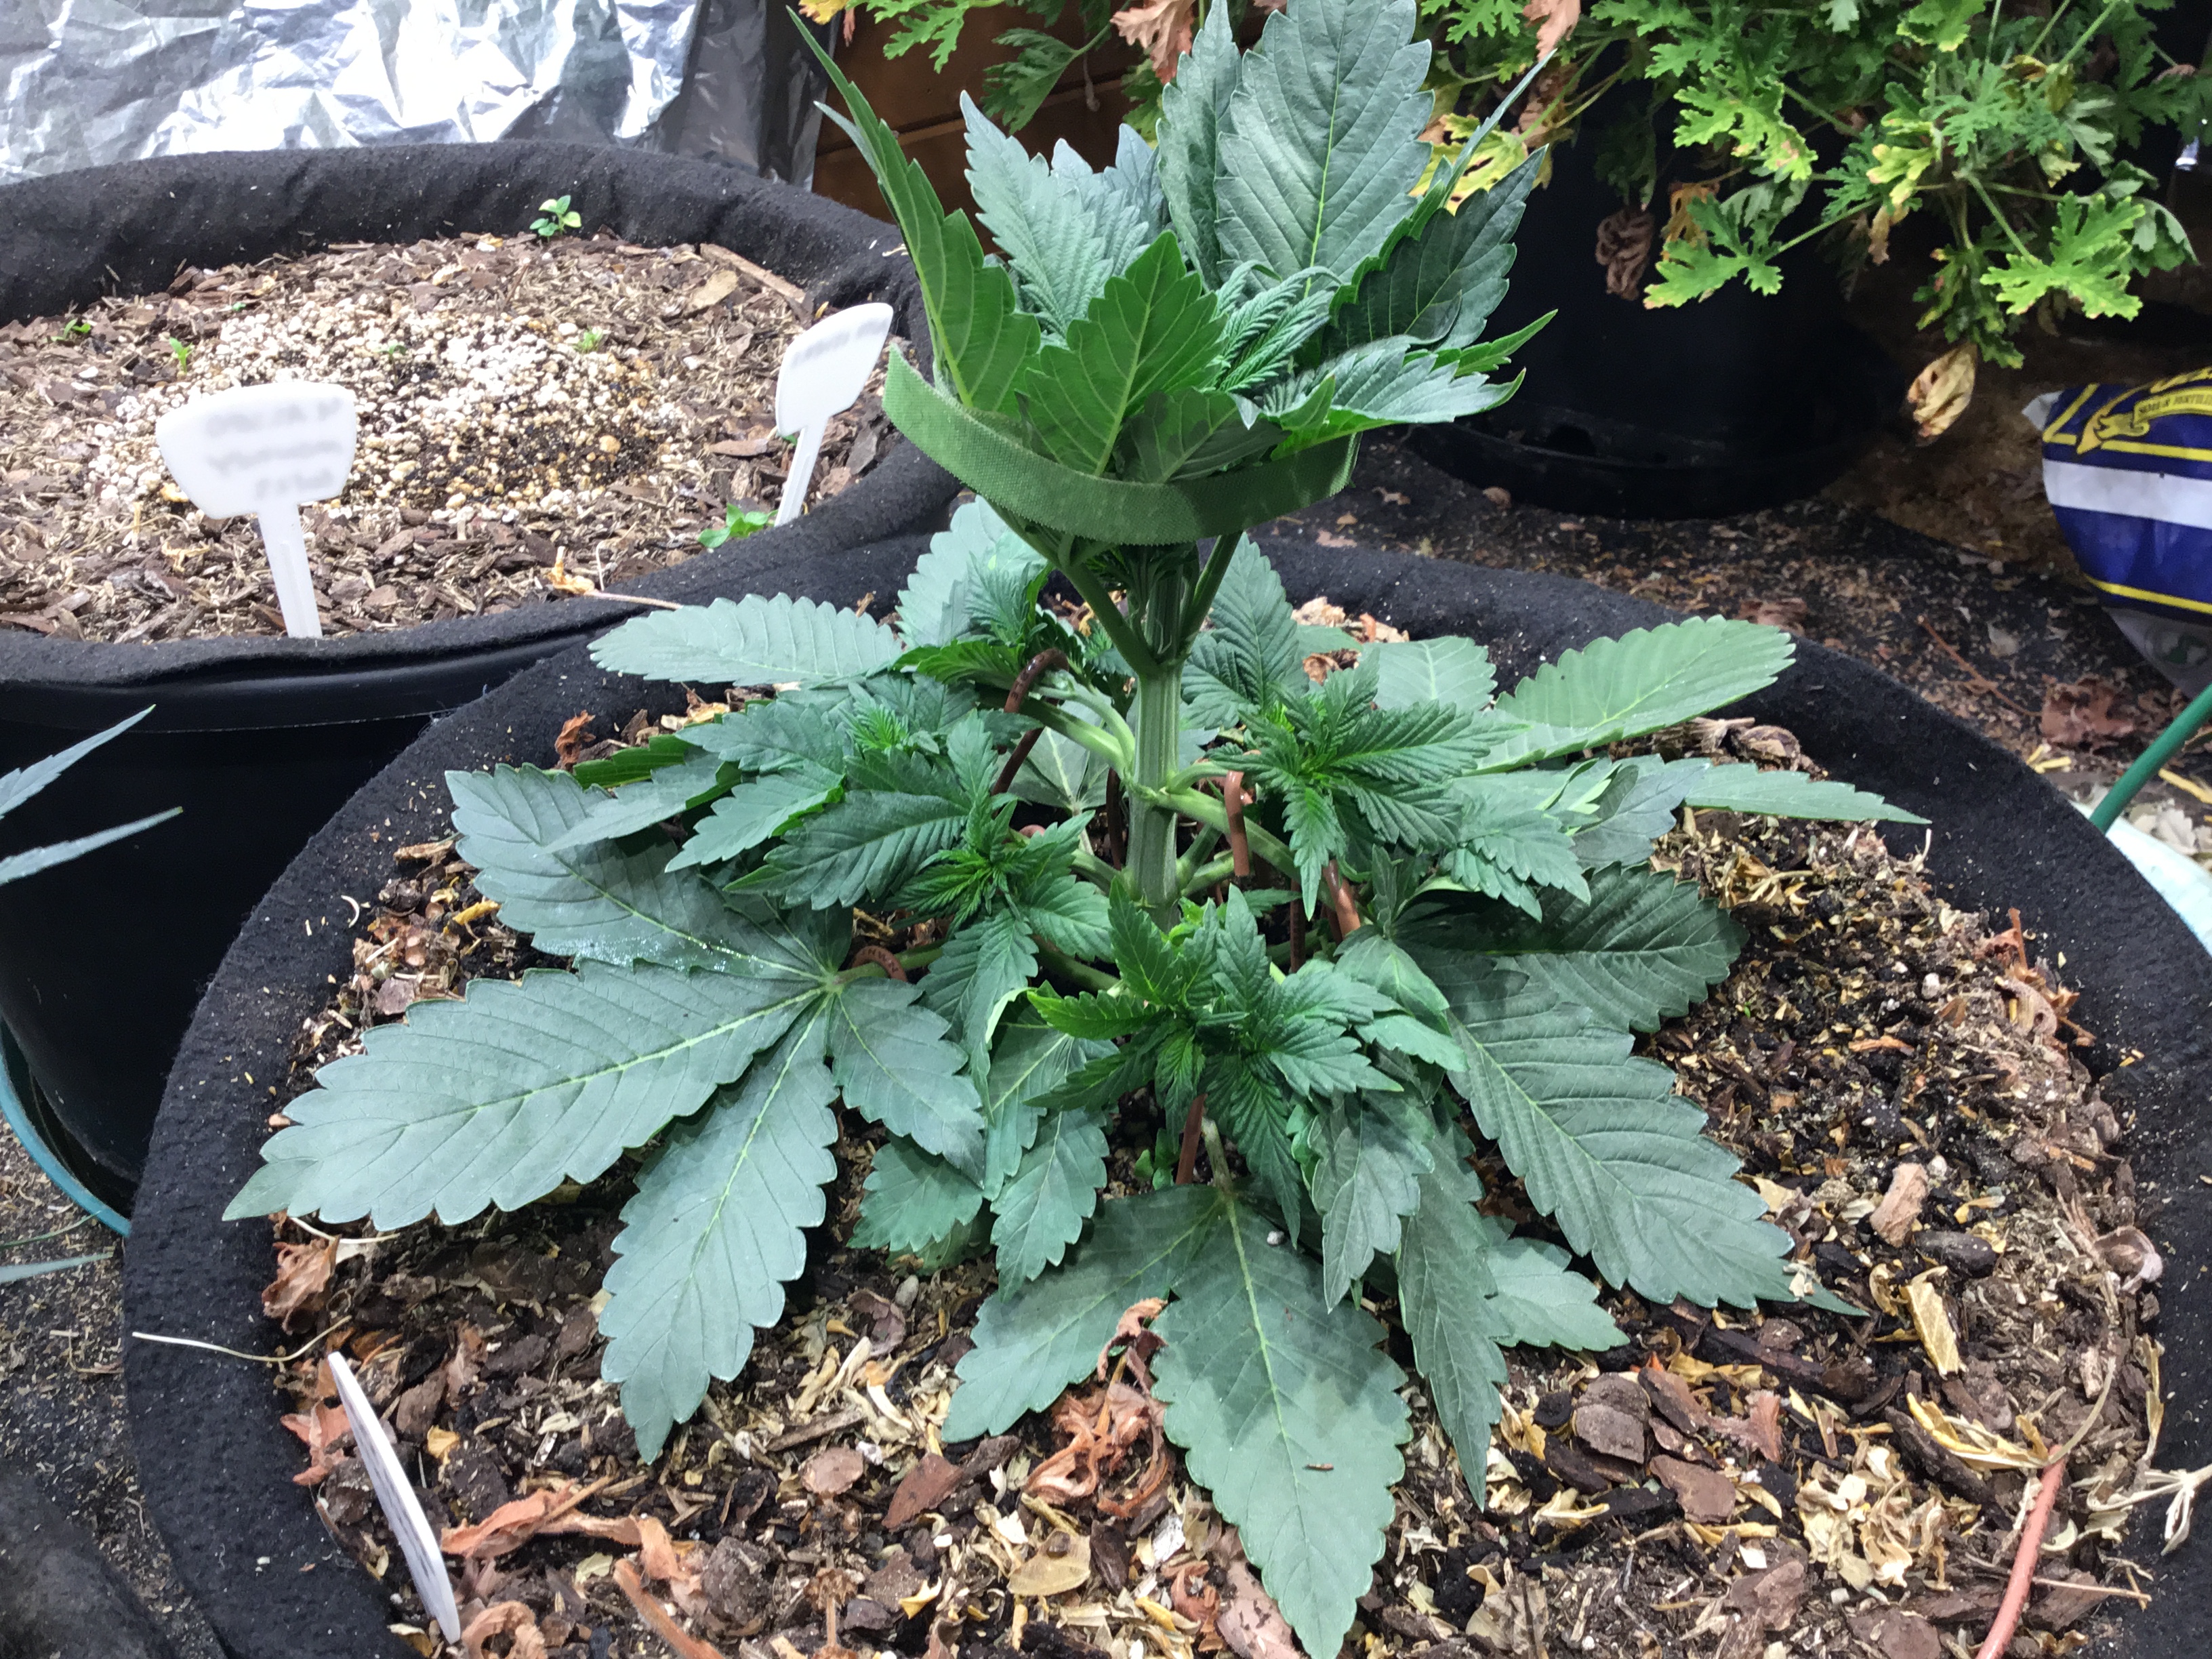
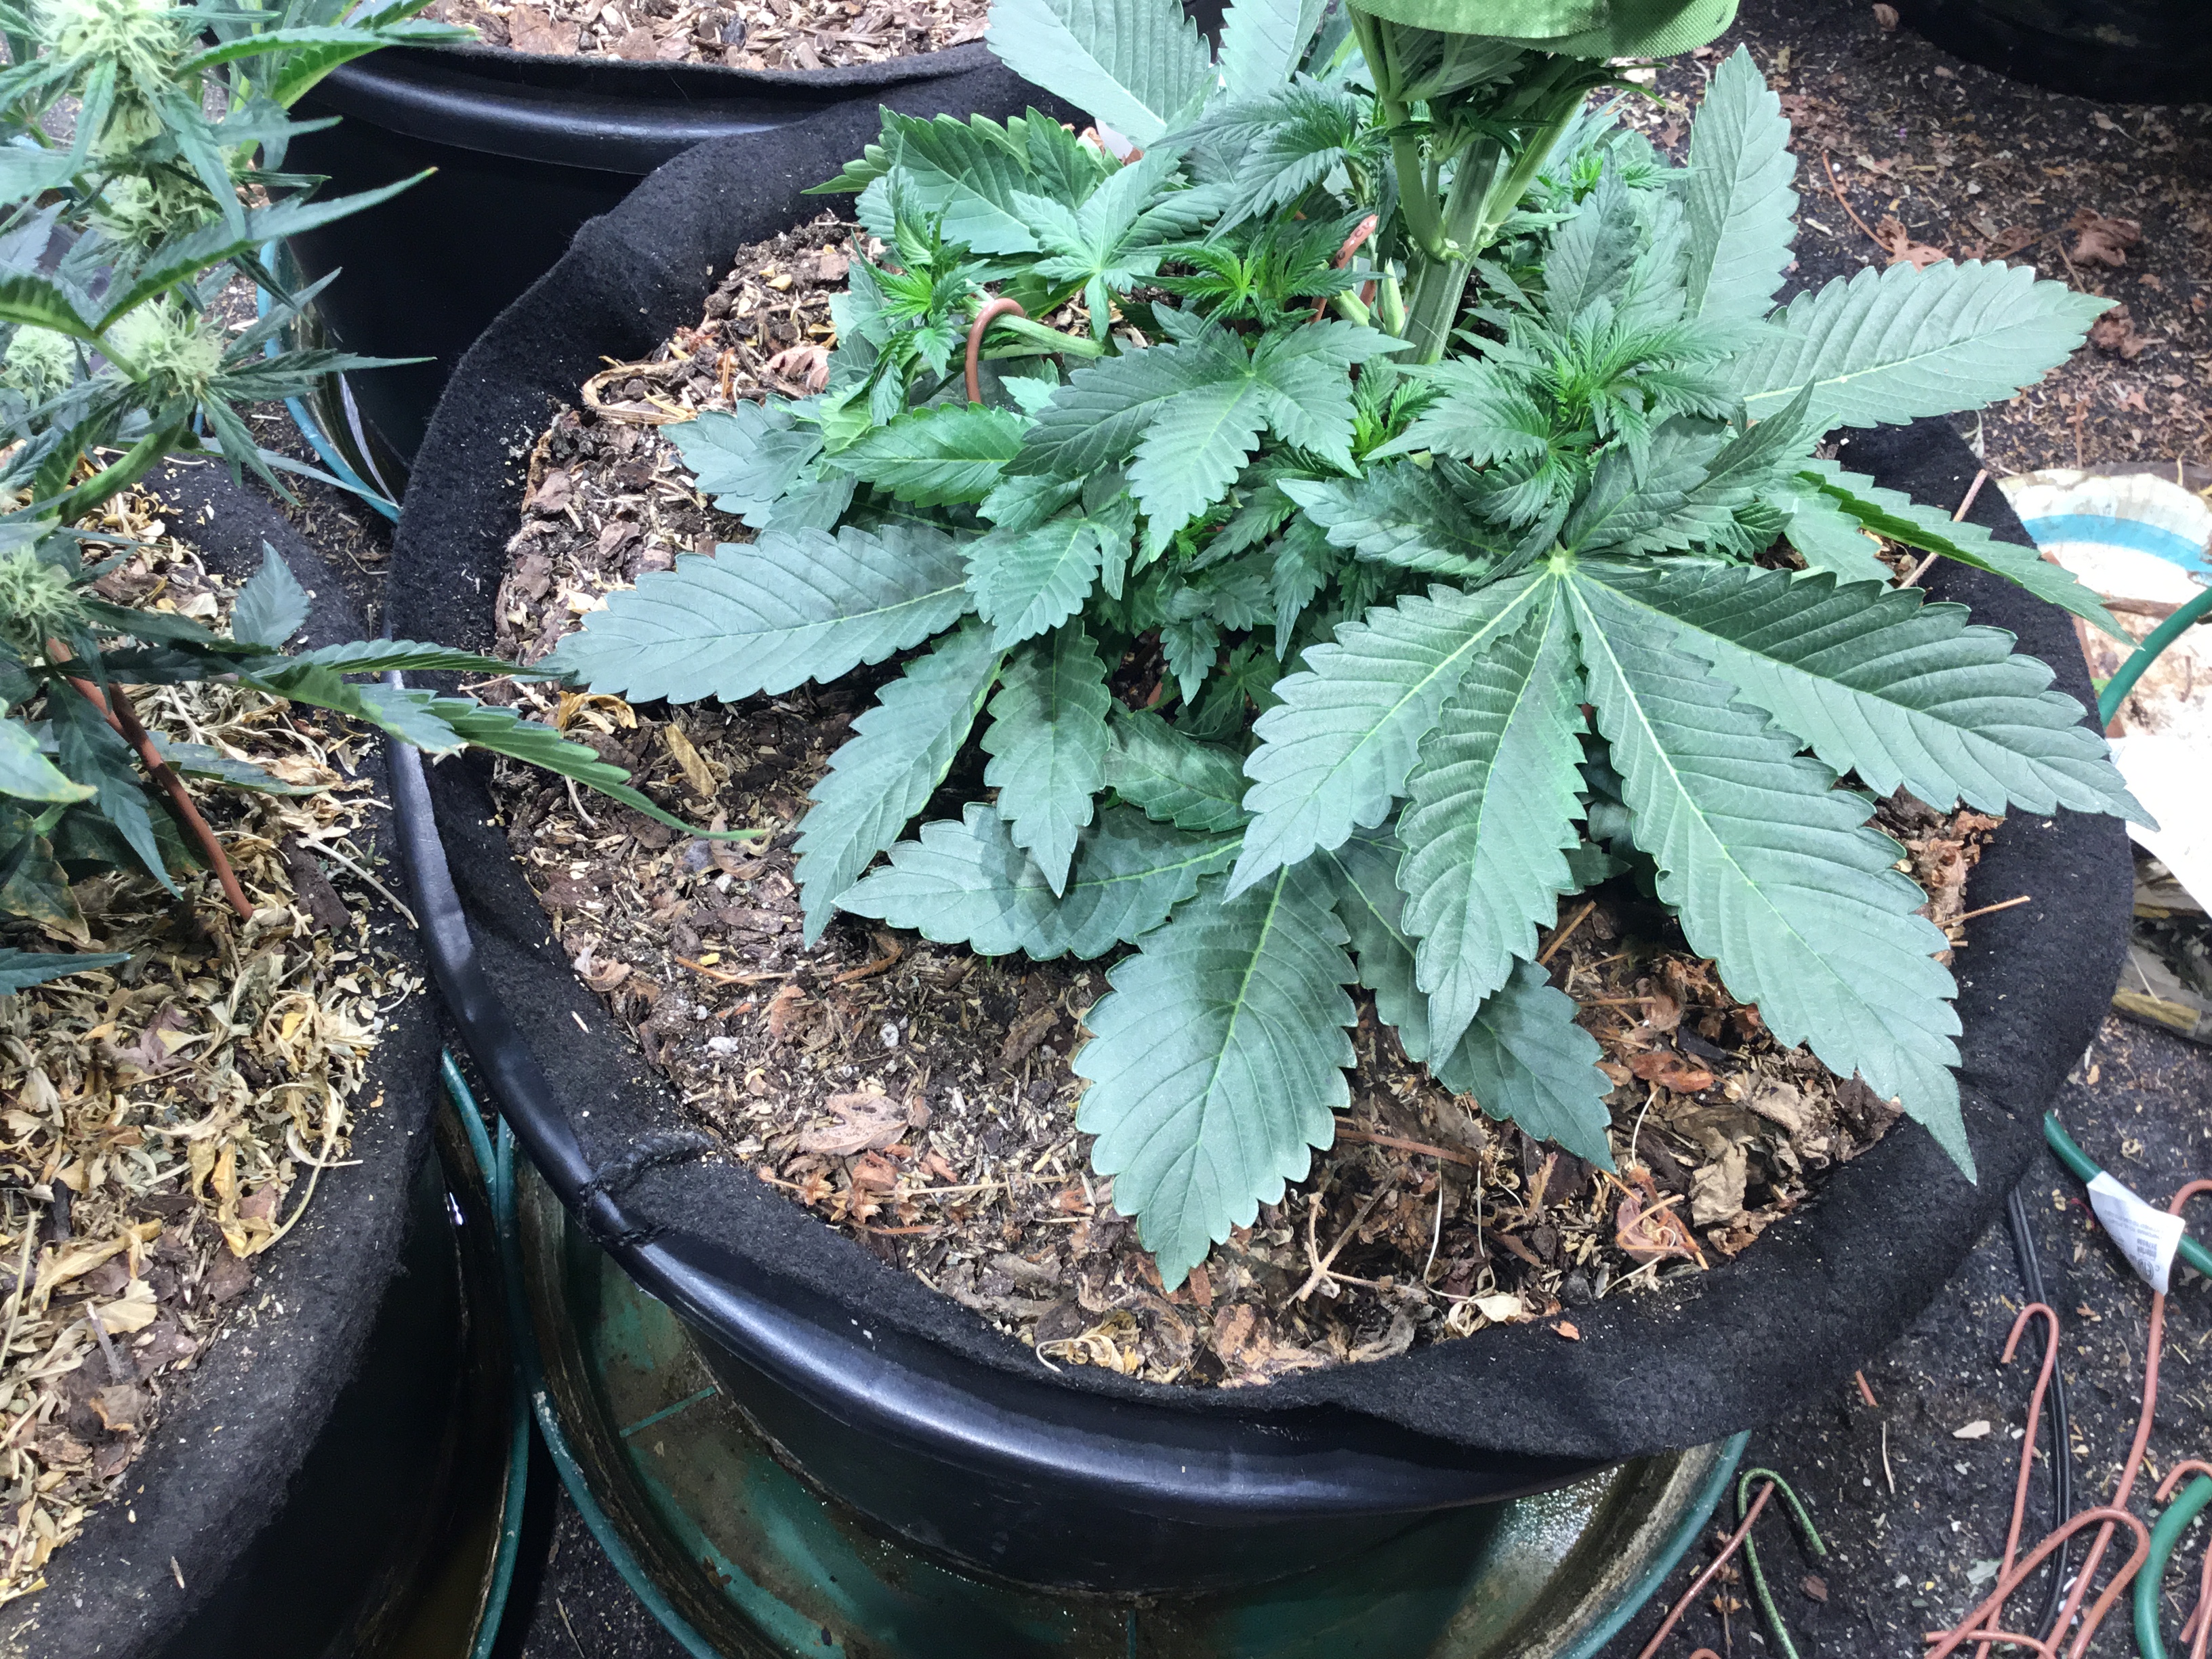
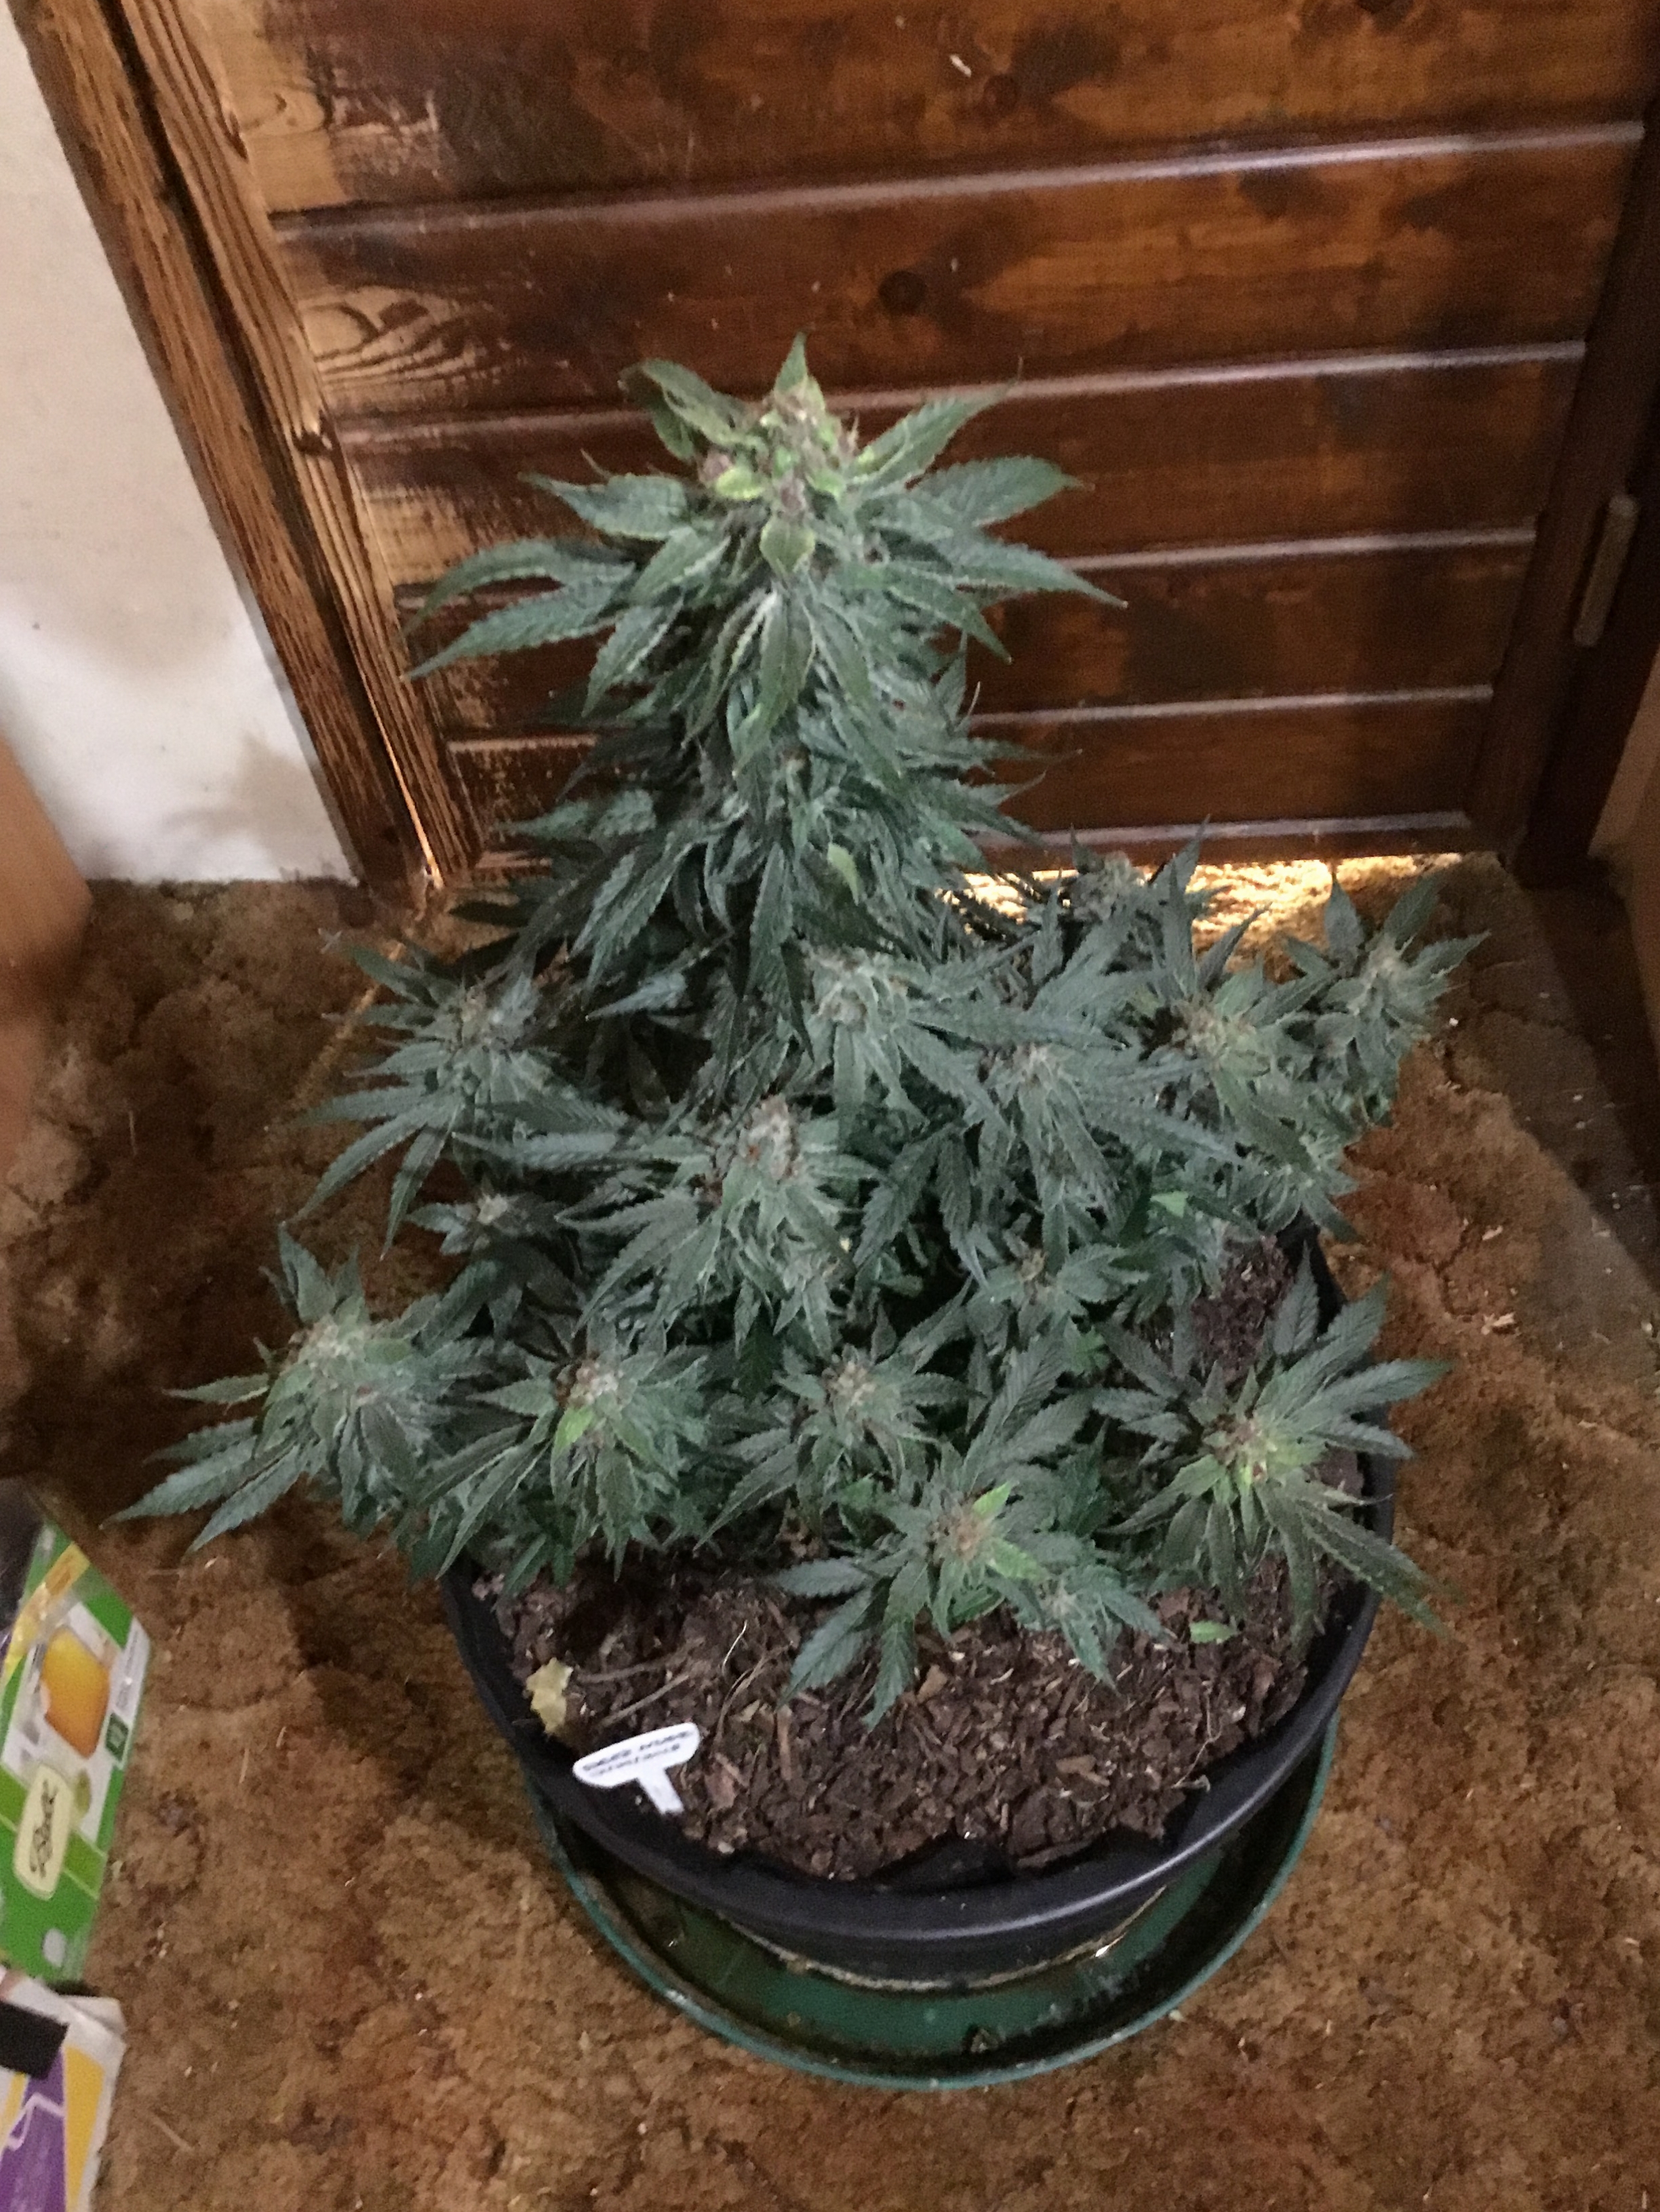
This mulch layer has been breaking down for about 2 weeks, you can see how much more has disappeared compared to the plant above.
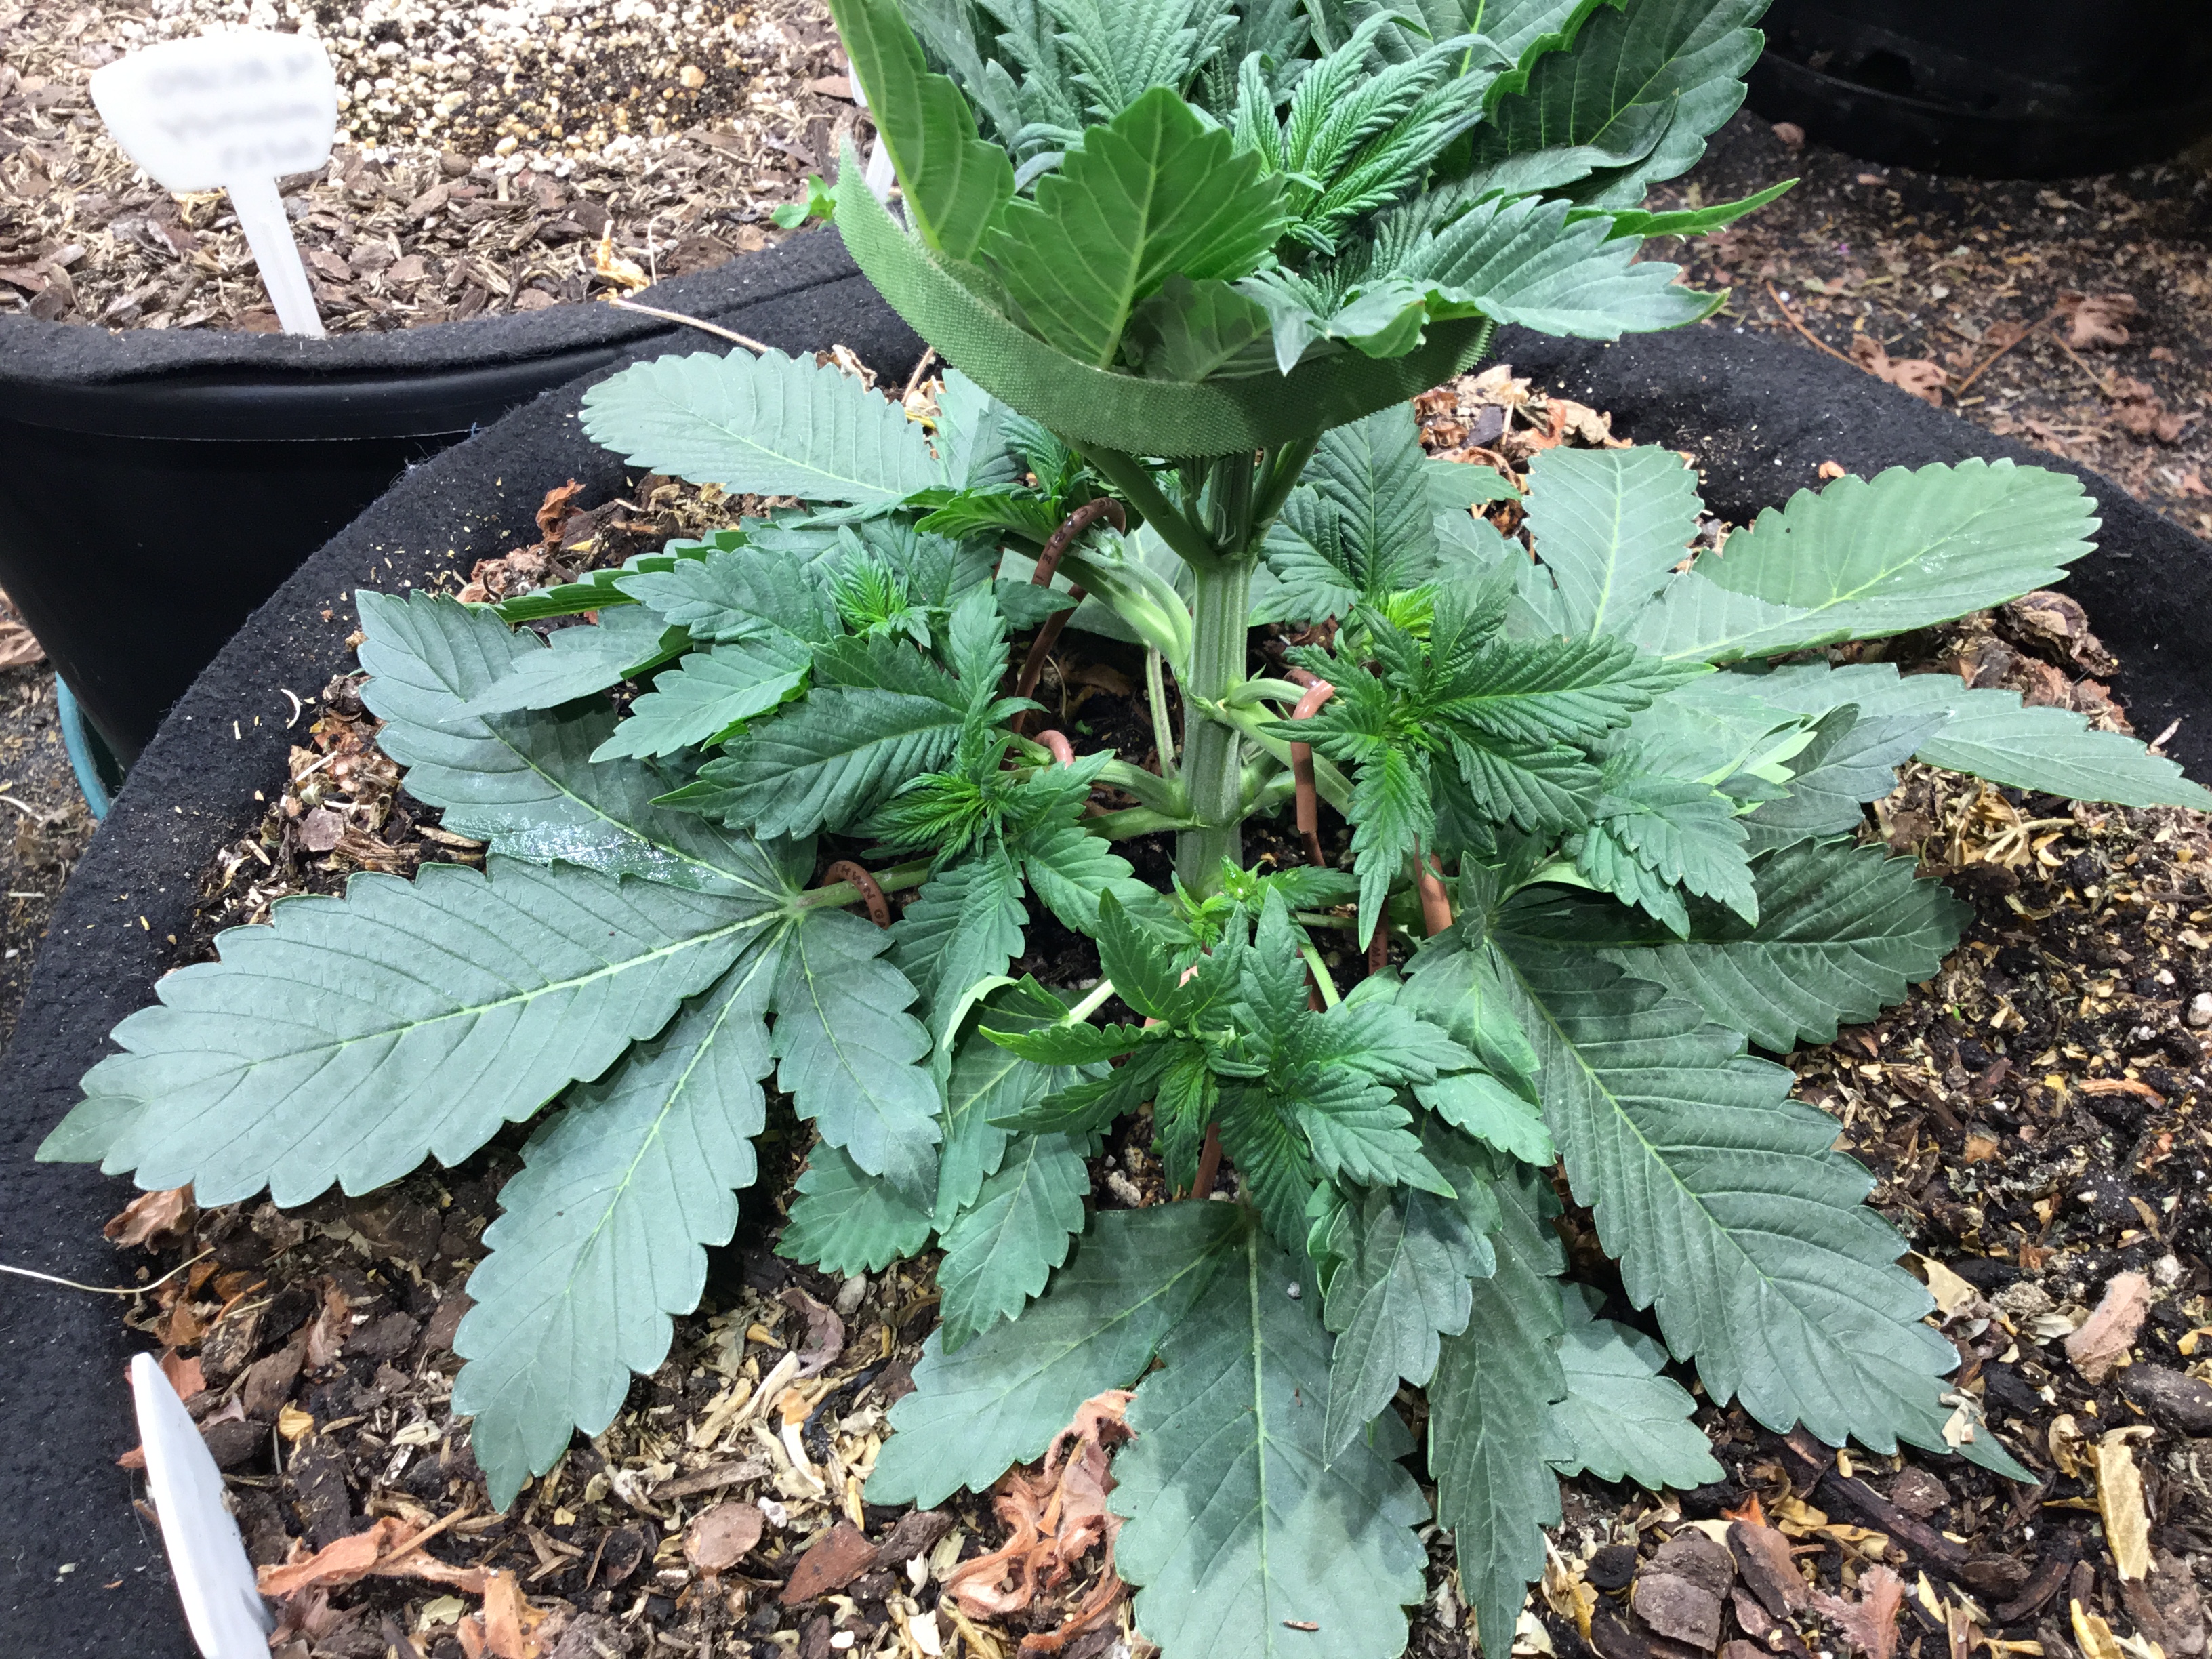
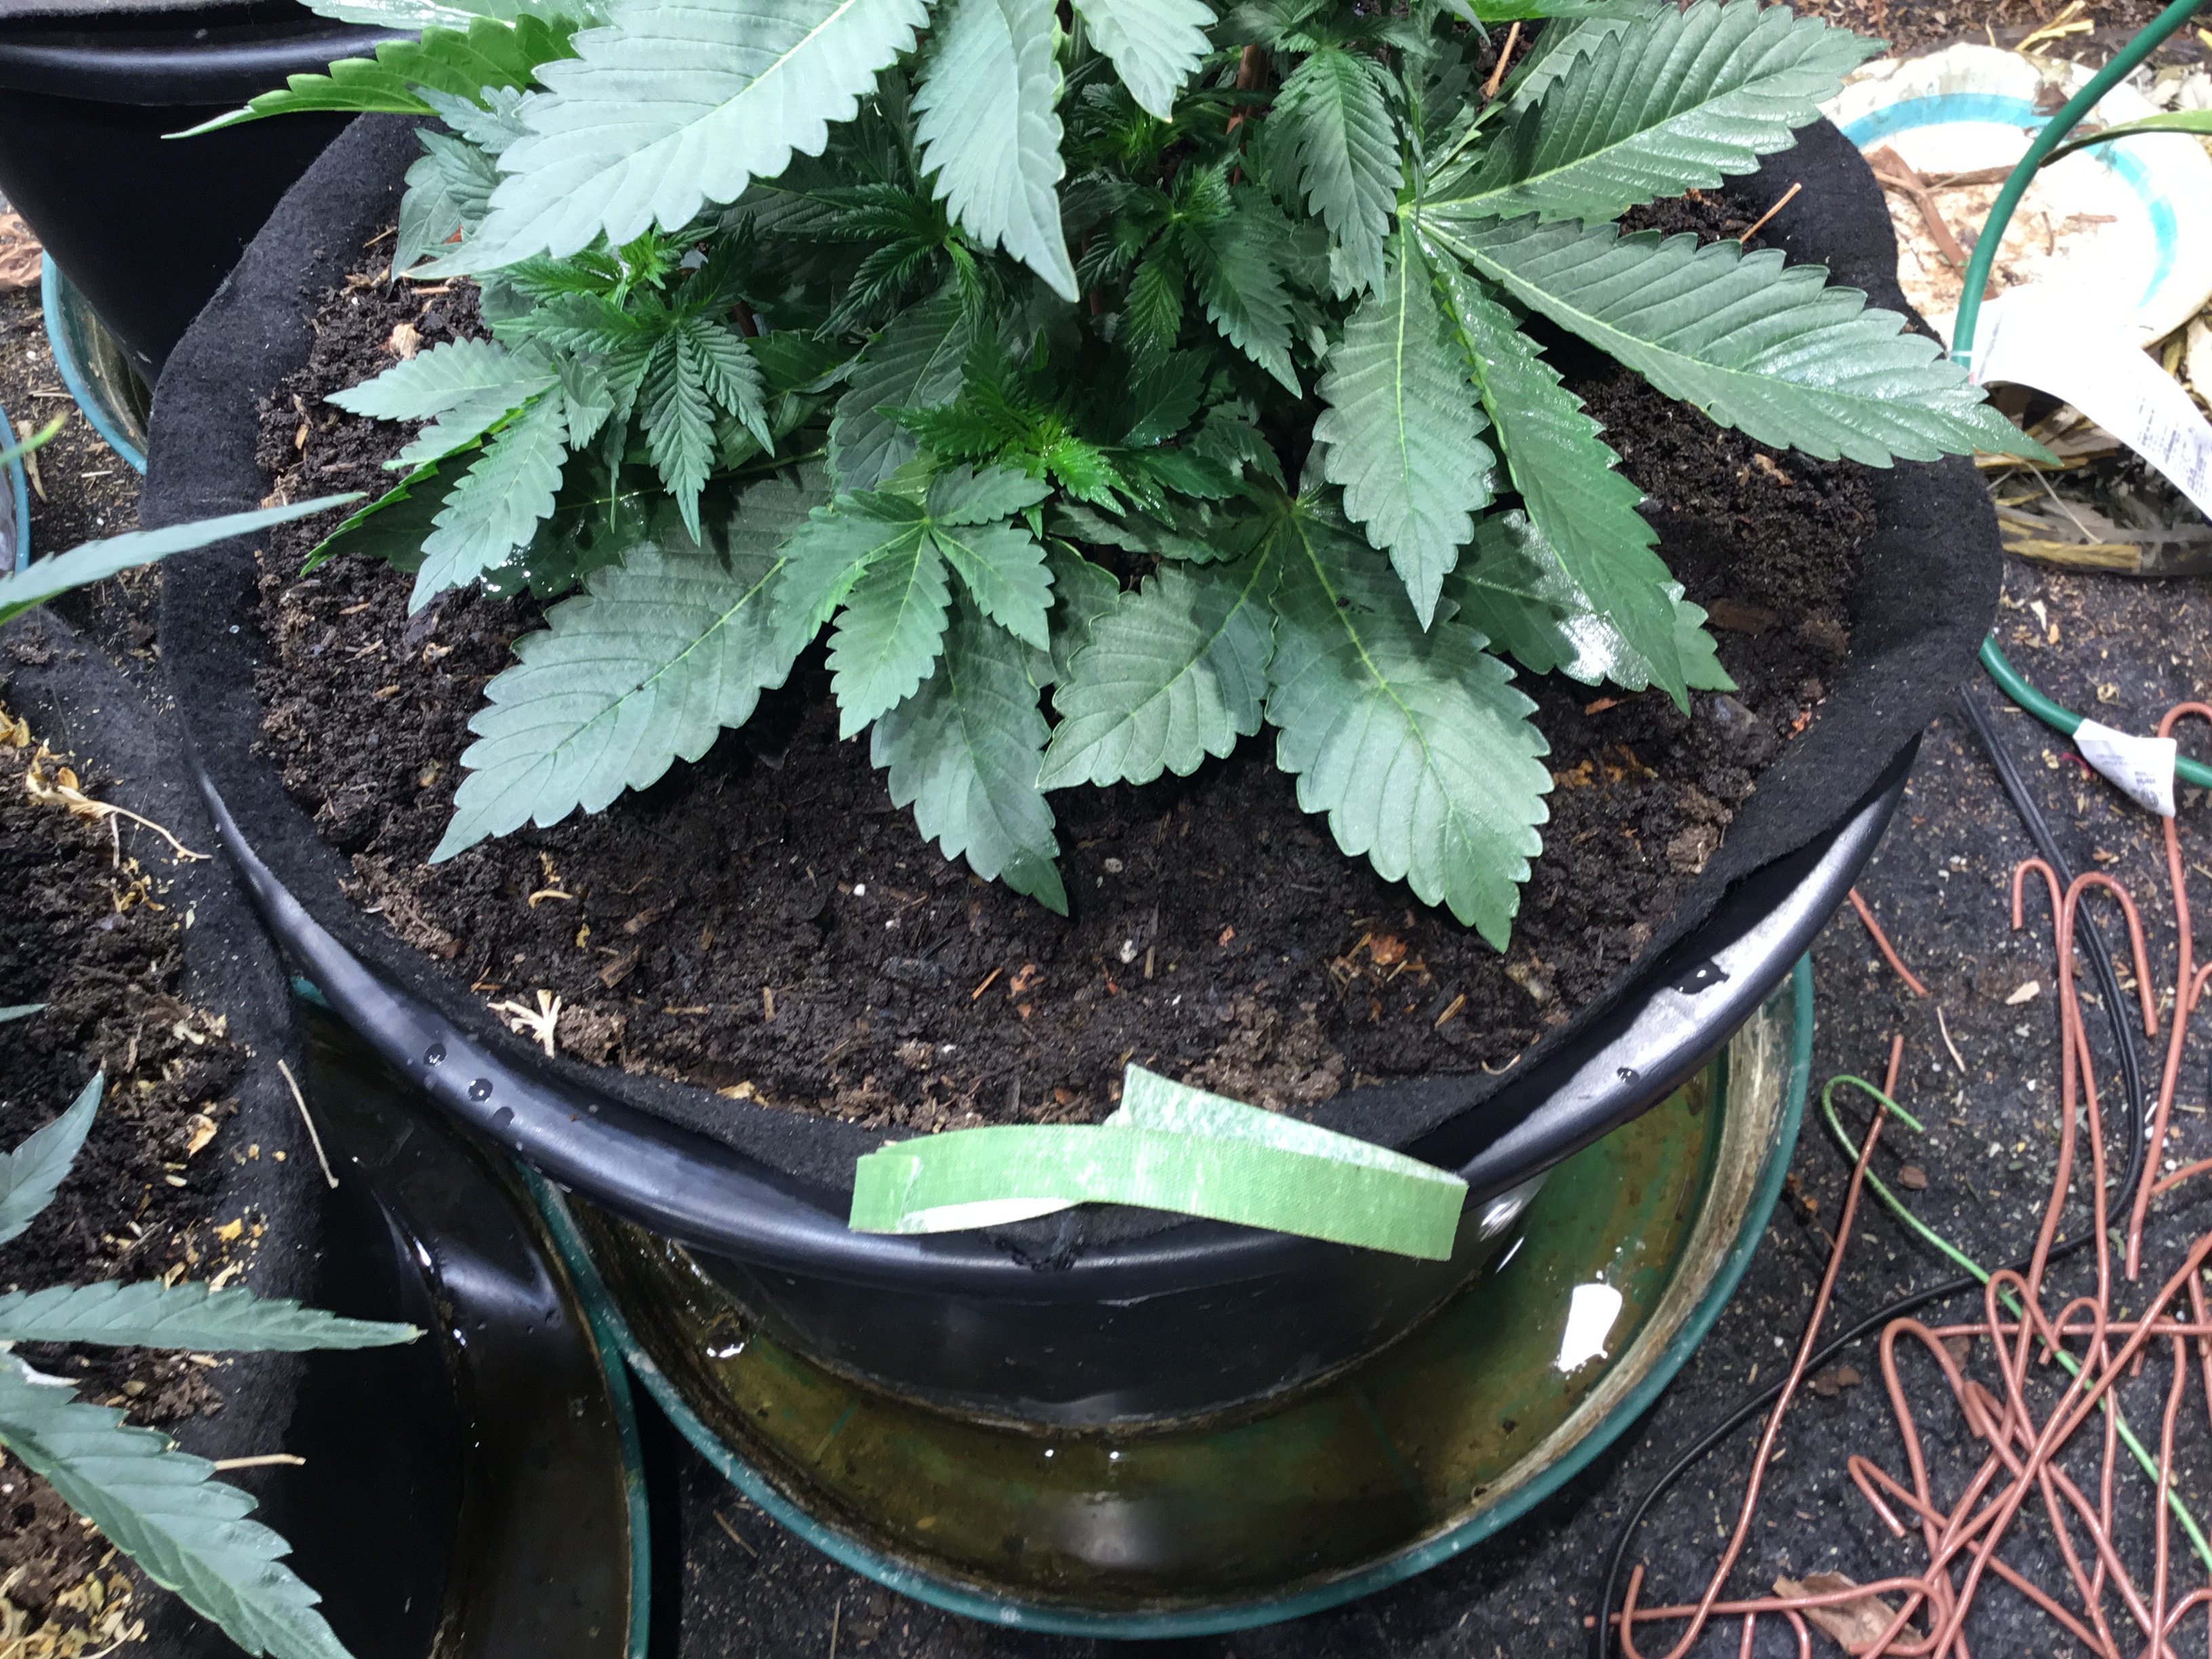
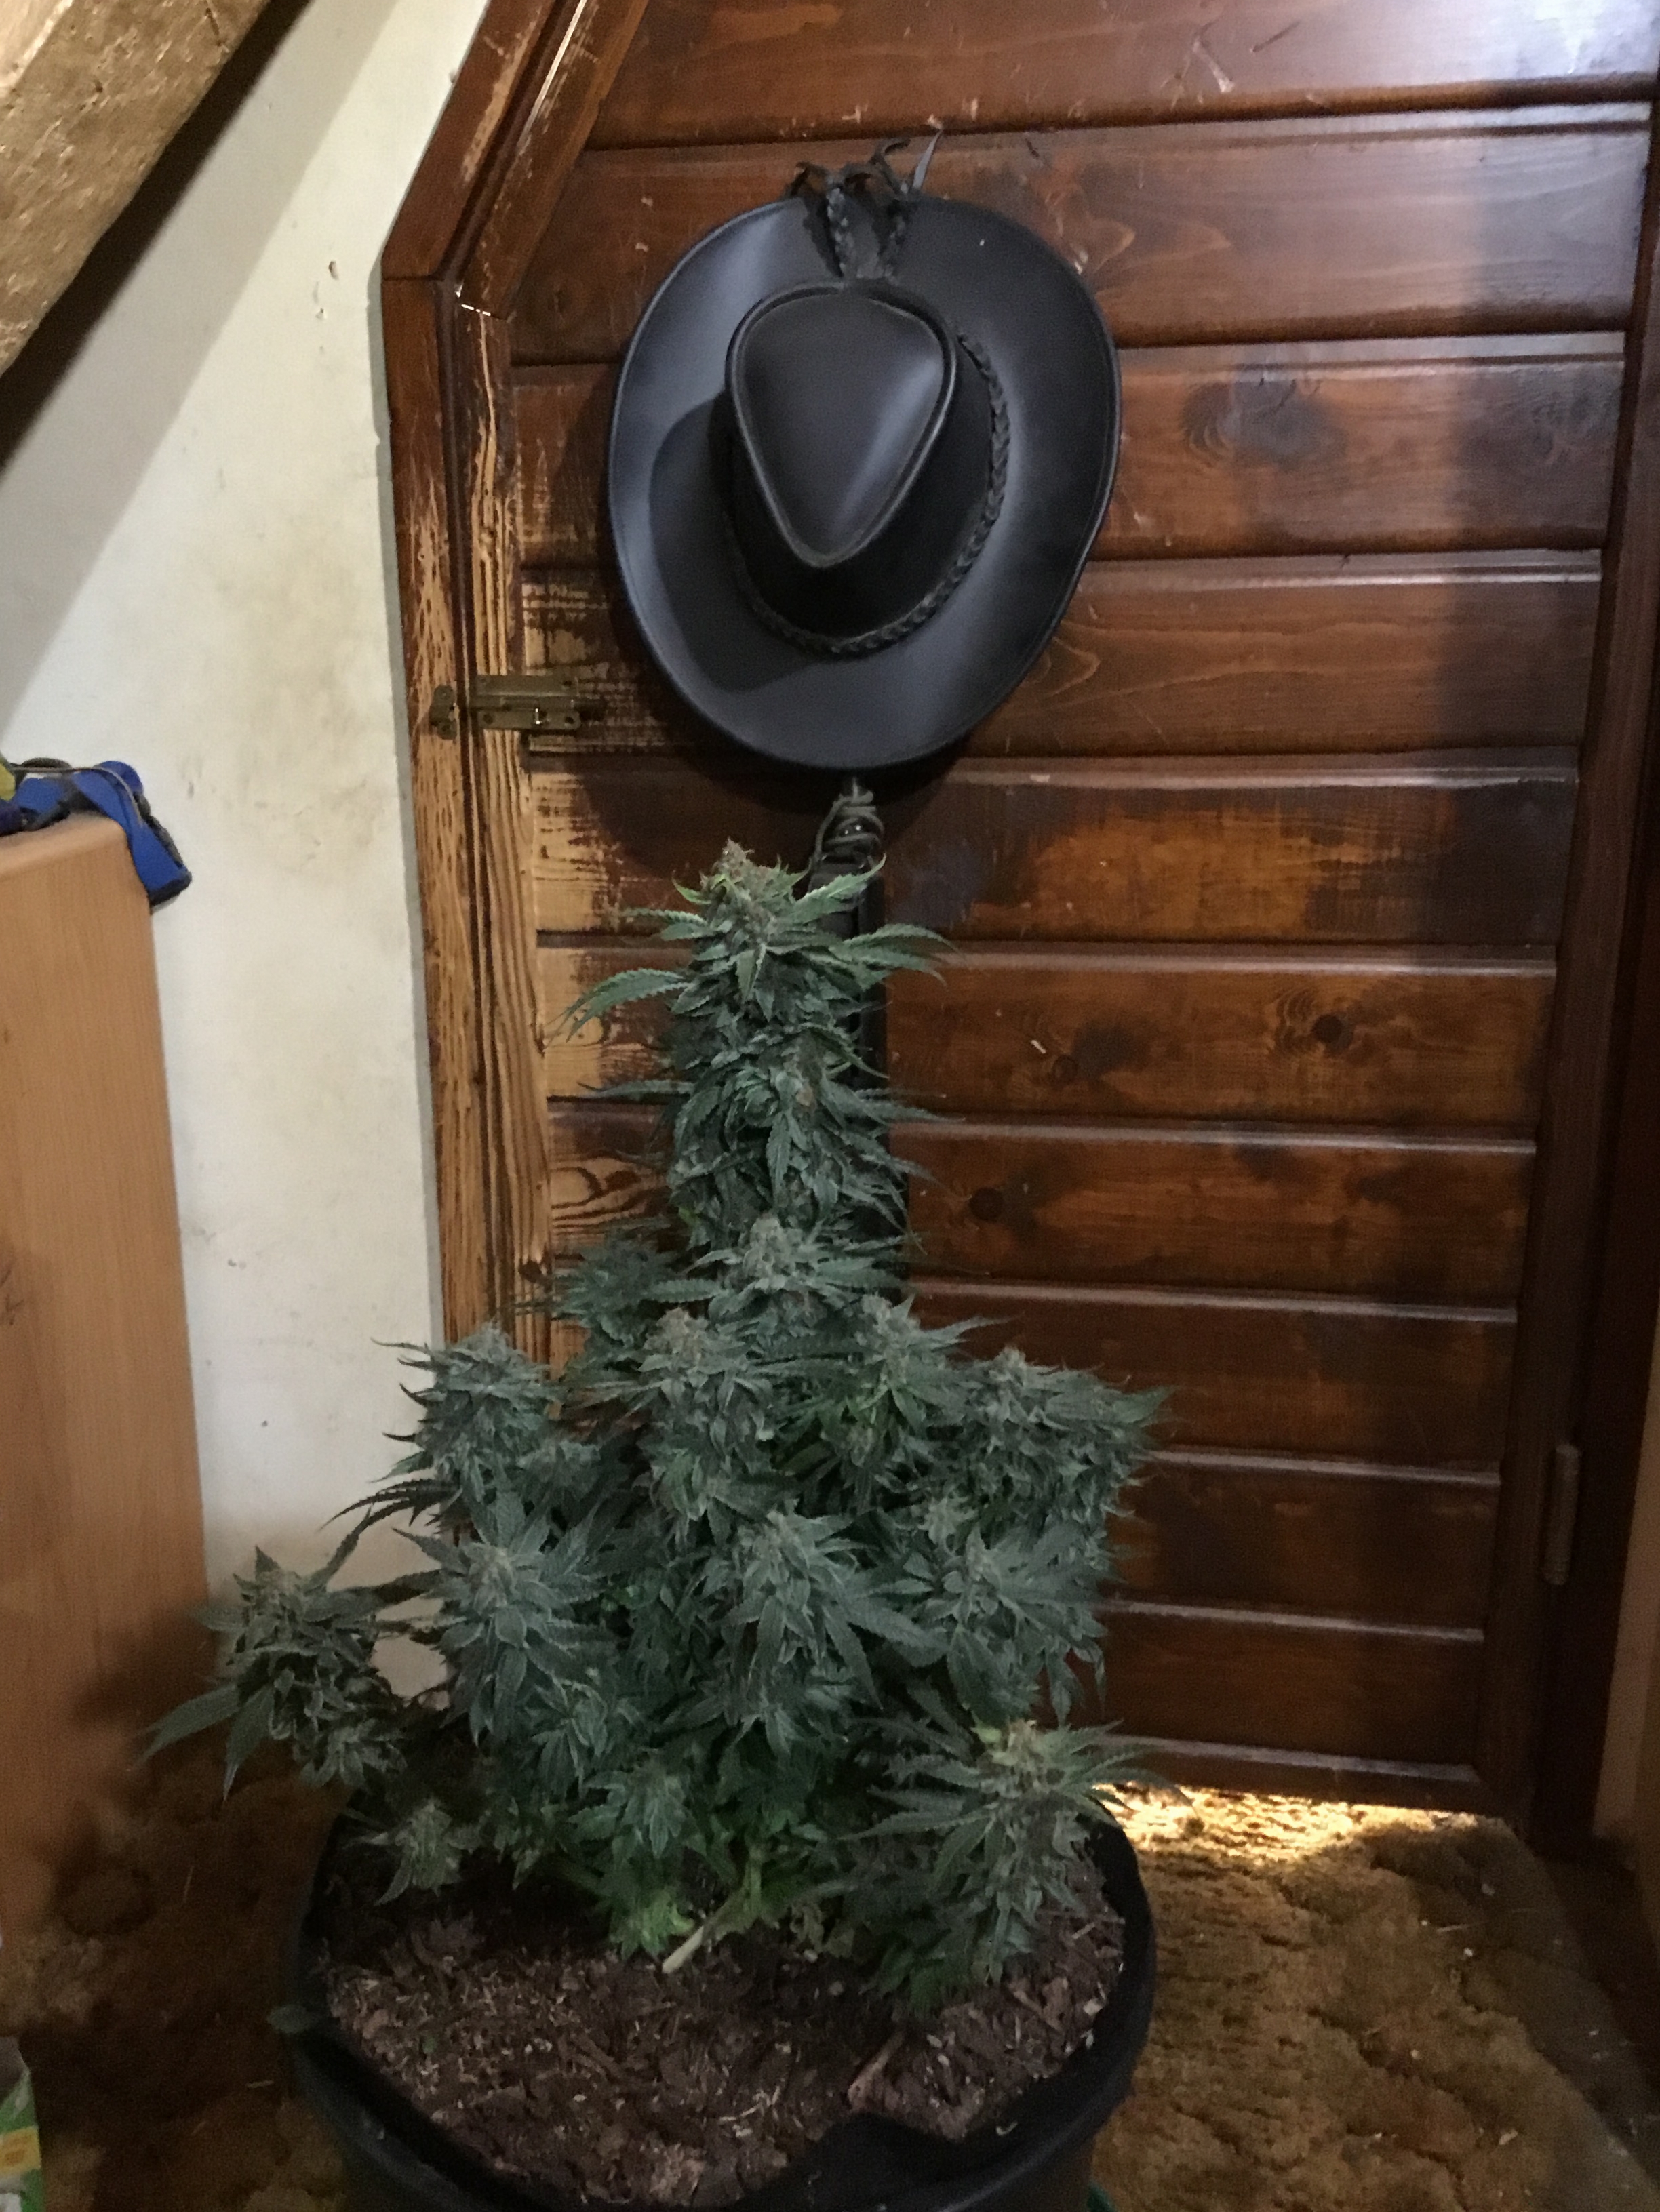
The next move is usually to cover the mulch with a layer of worm castings or vermicompost. The plant below has a fresh topdress of wormcastings. These castings are pretty pure, there isn't much compost left in them.
There is no real wrong time to do these steps. It usually comes down to when its easier for me to do. Staking branches affects my mulching decisions as much as anything else. With this style of gardening, you just want to start things early enough, to allow nature to do its thing, or in a perfect world, to 'continue' to do its thing.
The next thing that happens is I apply a top dress of vermicompost down the road. The vermicompost or VMC, is my special blend. It contains bark mulch and rice hulls for slow release over a long time, and is based with either leaf mold or compost. It has been worked by worms for a minimum of 6 months before I use it.
Because it contains the bark, the castings portion kind of washes down through the layers to the soil, and leaves the bark and rice hulls as a perfect mulch on top.
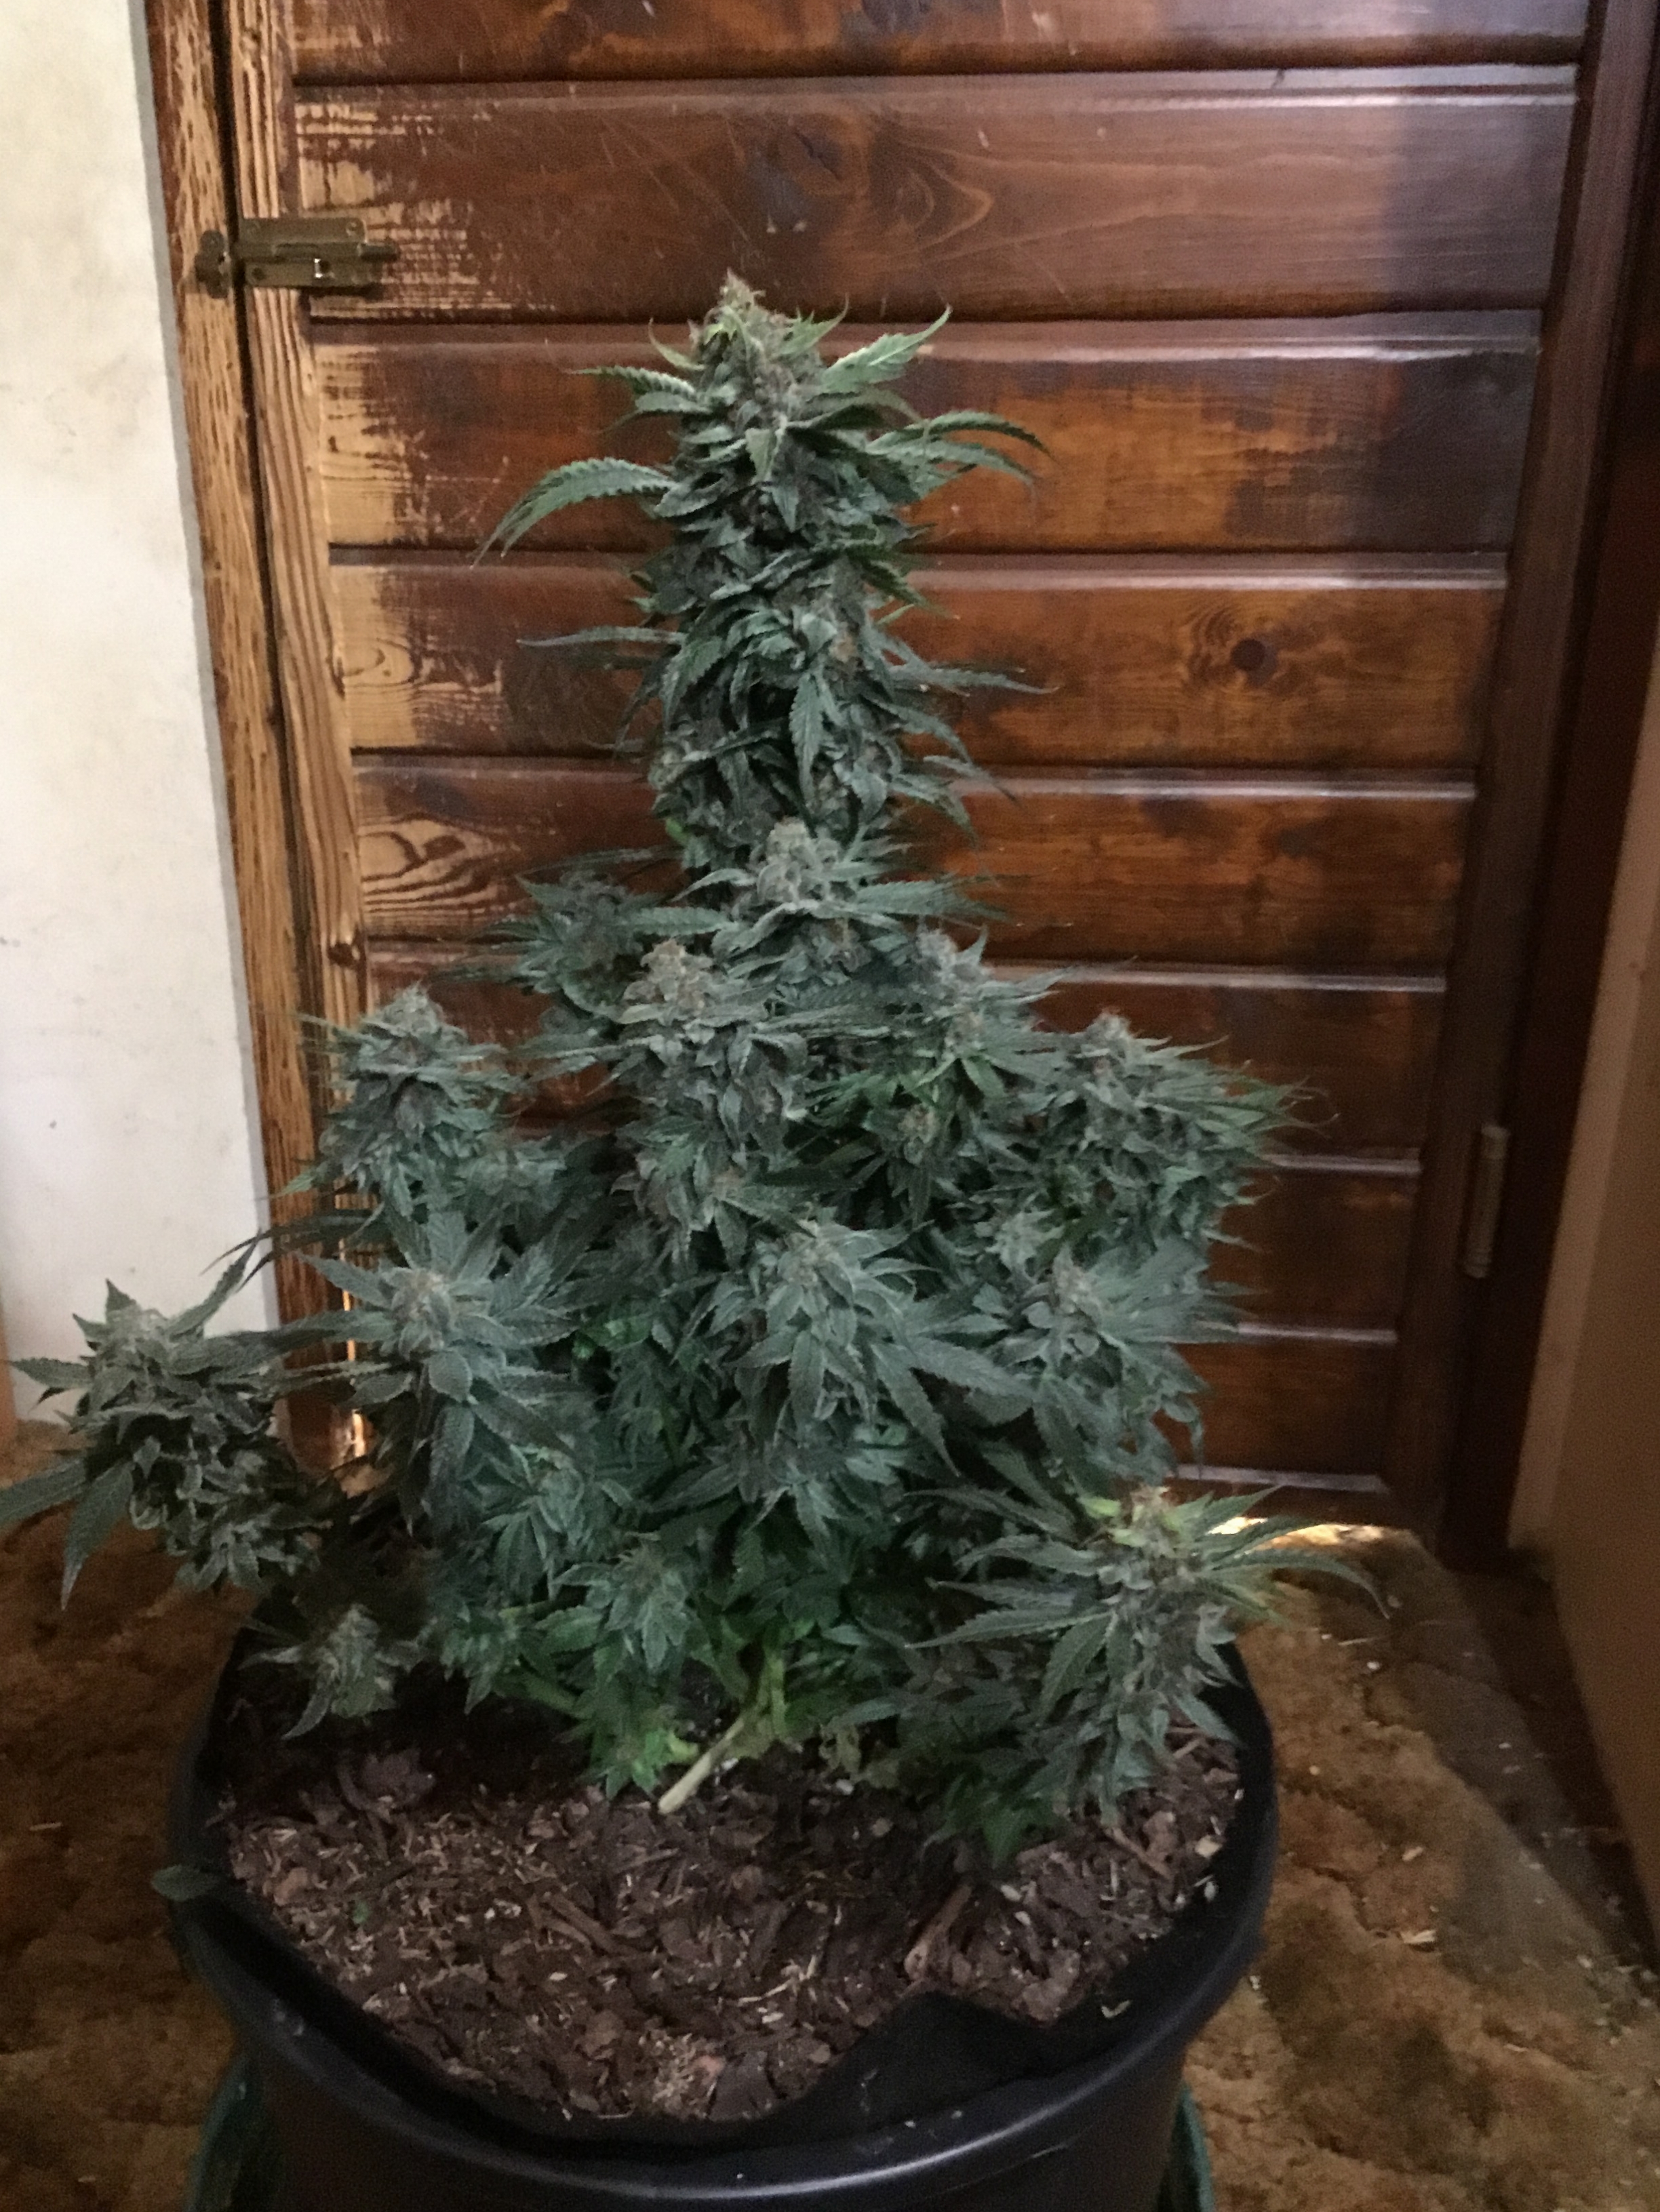
I have had great results doing this. All the plants I am growing now are on their 2nd cycle in these no till containers. Aside from a few teas here and there, I just water with tap. My 'Fantasmo Express' should be my first 2nd cycle plant to finish, and she is a week or two out.
cheers
os