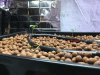
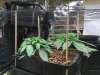
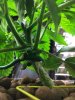
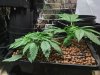
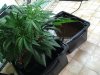
This is a super easy to build DIY hydro set up, nothing groundbreaking or original here, its just a complete package specifically designed to avoid all the problems I see people have with DWC mainly caused by root problems.
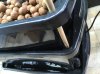
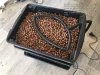
This system is built from 3 standard reversible tubs. One way they stack the other way they sit inside each other. No added air stone or stuff like that needed. No cal mag is needed. Runs on a simple 8W water pump which I have running 24/7 at the moment but will turn down after a couple of weeks.
There's virtually nothing that can go wrong. The reservoir is a decent size which the whole thing is very compact. I think this is the best and easiest way for a new grower to have success. Any question just ask away.
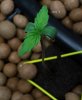
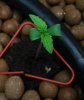
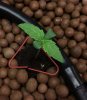
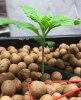
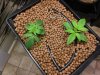
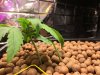
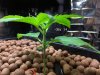
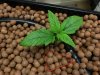
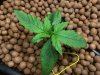
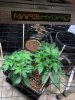
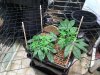
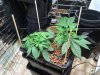
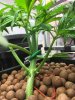
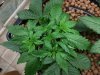
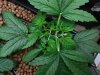
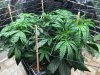
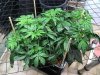
I won the mars hydro TS 2000 a few weeks ago so this is a test grow both for that and for this hydro system. I have two orange bud autos growing which should fit well under this light.

This system is built from 3 standard reversible tubs. One way they stack the other way they sit inside each other. No added air stone or stuff like that needed. No cal mag is needed. Runs on a simple 8W water pump which I have running 24/7 at the moment but will turn down after a couple of weeks.
There's virtually nothing that can go wrong. The reservoir is a decent size which the whole thing is very compact. I think this is the best and easiest way for a new grower to have success. Any question just ask away.
I won the mars hydro TS 2000 a few weeks ago so this is a test grow both for that and for this hydro system. I have two orange bud autos growing which should fit well under this light.
Attachments
-
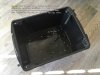
 botom-reservoir.jpg124.3 KB · Views: 205
 -
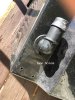
 jets.jpg216.1 KB · Views: 205
 -
 middle-spacer.jpg64.1 KB · Views: 191
 -
 middle-tub-b.jpg165.4 KB · Views: 193
 -
 middle-tub.jpg144.9 KB · Views: 209
 -
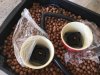
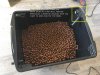
 plugs.jpg236.4 KB · Views: 196
 -
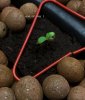
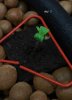
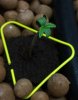
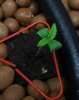
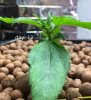
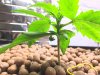
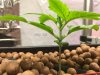
 seedlings.jpg158.1 KB · Views: 207
 -
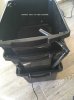 stacked-tubs-empty.jpg80.3 KB · Views: 179
 -
 top-tub-b.jpg161.8 KB · Views: 196
 -
 top-tub.jpg165.2 KB · Views: 203
 -
 top-tube.jpg214.3 KB · Views: 192
Last edited: